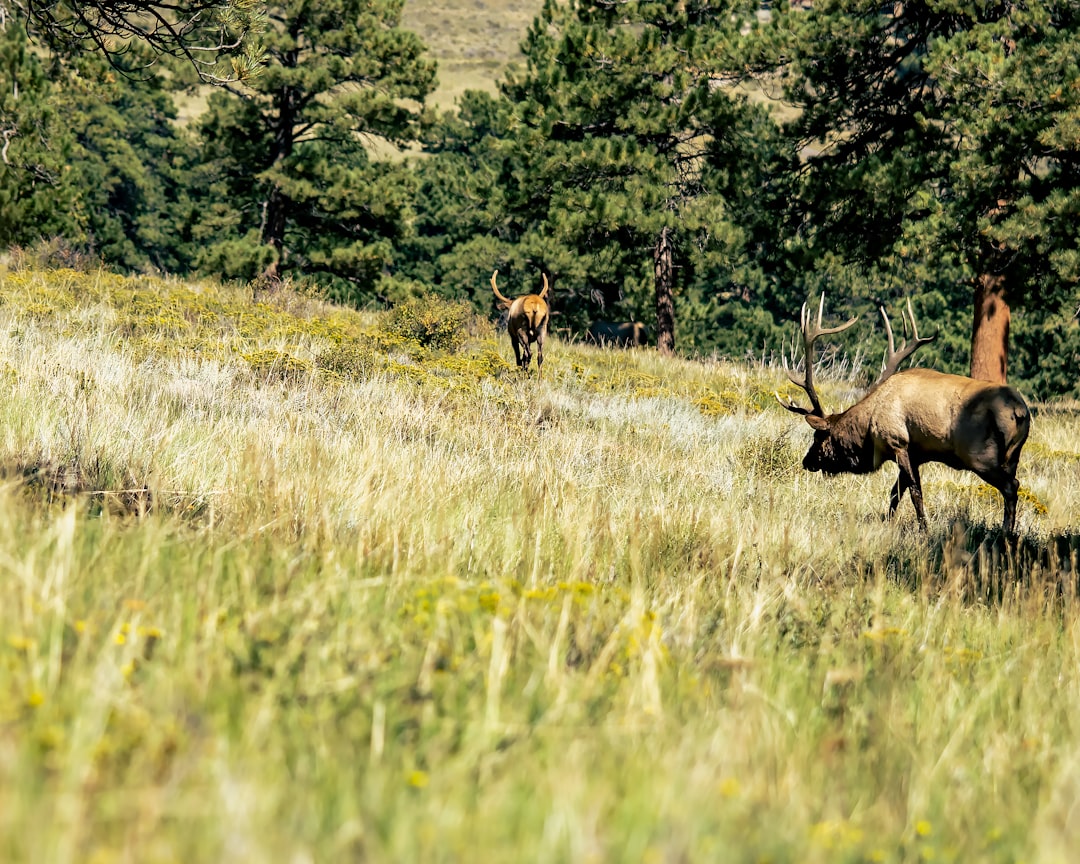
How to Glass for Elk: Proven Techniques for Spotting Bulls in 2026
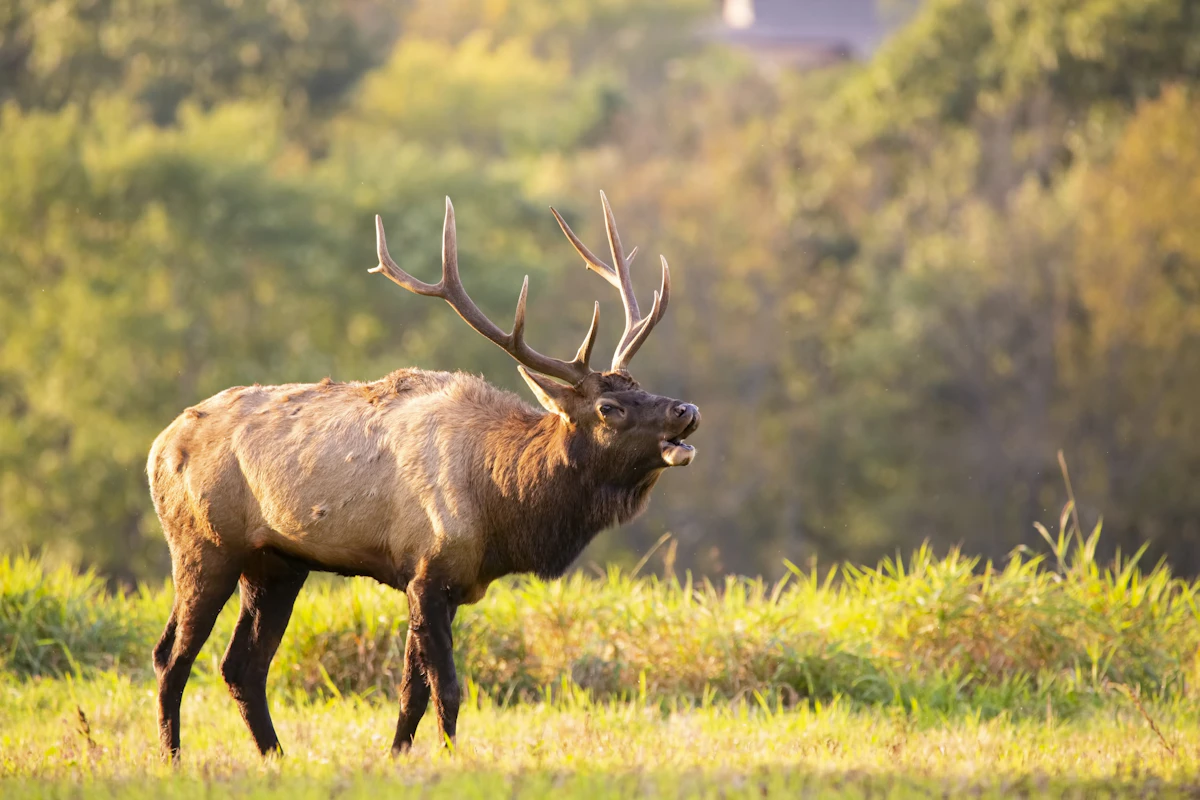
Glassing for elk separates average hunters from consistent ones. Most public land elk live in terrain where you will spot them with optics long before you hear a bugle or cut a track. Whether you are hunting high alpine basins in Colorado or timbered draws in Montana, effective glassing lets you cover more country, pattern elk movements, and plan stalks without burning boot leather or alerting every animal in the drainage.
Why Glassing Beats Hiking When Hunting Elk
Elk country is big. A single Colorado GMU might cover 300 square miles of varied terrain. Walking ridges and hoping to stumble into elk works occasionally, but experienced hunters know that systematic glassing from strategic vantage points yields better results. Glassing allows you to inventory animals across multiple drainages in a single morning, identify bedding areas without spooking elk, and spot bulls that never vocalize during rifle season.
You also preserve energy. Glassing sessions from a single knob might reveal elk in three different basins. Without optics, you would hike into one drainage blind, bump elk, and spend the rest of the day reacting instead of hunting deliberately. Good glassers let their eyes do the walking.
Optics Setup: What You Actually Need
You need two optics: binoculars and a spotting scope. Binoculars for scanning and finding elk. A spotting scope for judging bulls and confirming what you see at longer distances.
For binoculars, 10x42 or 12x50 configurations work best in elk country. The 10x provides enough magnification to pick apart timber edges and shaded pockets without excessive hand shake. The 12x offers more reach for open alpine glassing but requires a tripod for extended sessions. Quality matters more than magnification. Mid-tier optics from Vortex, Maven, or Leupold outperform budget 15x models that lack clarity in low light.
Spotting scopes should be 65mm to 85mm objective diameter with 20-60x zoom capability. An 85mm gathers more light for early morning and late evening glassing, but adds weight. A 65mm balances portability with performance for backpack hunts. Pair your scope with a sturdy tripod. Cheap tripods frustrate more hunters than cheap optics.
Where to Position Yourself for Maximum Coverage
Good glassing starts with good positioning. You want elevation, multiple sight lines, and the ability to glass without skyling yourself. Look for knobs, fingers, or benches that allow you to sit comfortably with a wide field of view. Ridgetops work if you can stay below the crest. Avoid positions where you are silhouetted against the sky.
Glass into the sun during morning sessions and with the sun at your back during evening sessions when possible. Elk bedded in shadows become visible as sunlight angles change. A bull invisible at 7 AM might light up at 9 AM when sun hits the north-facing slope he is bedded on.
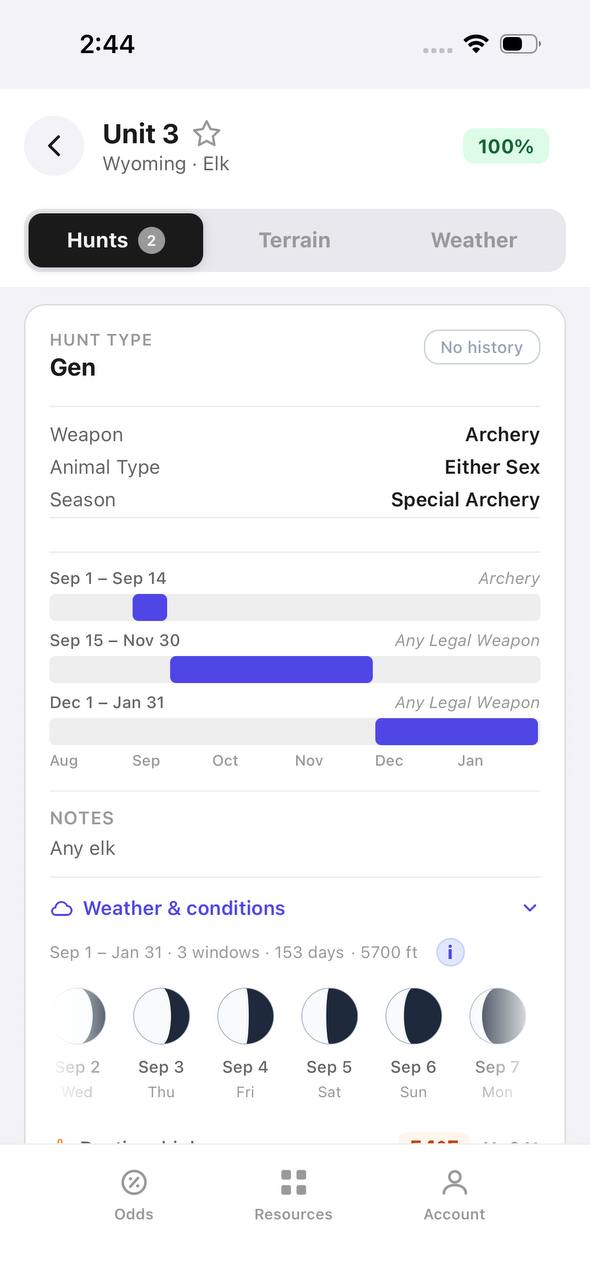
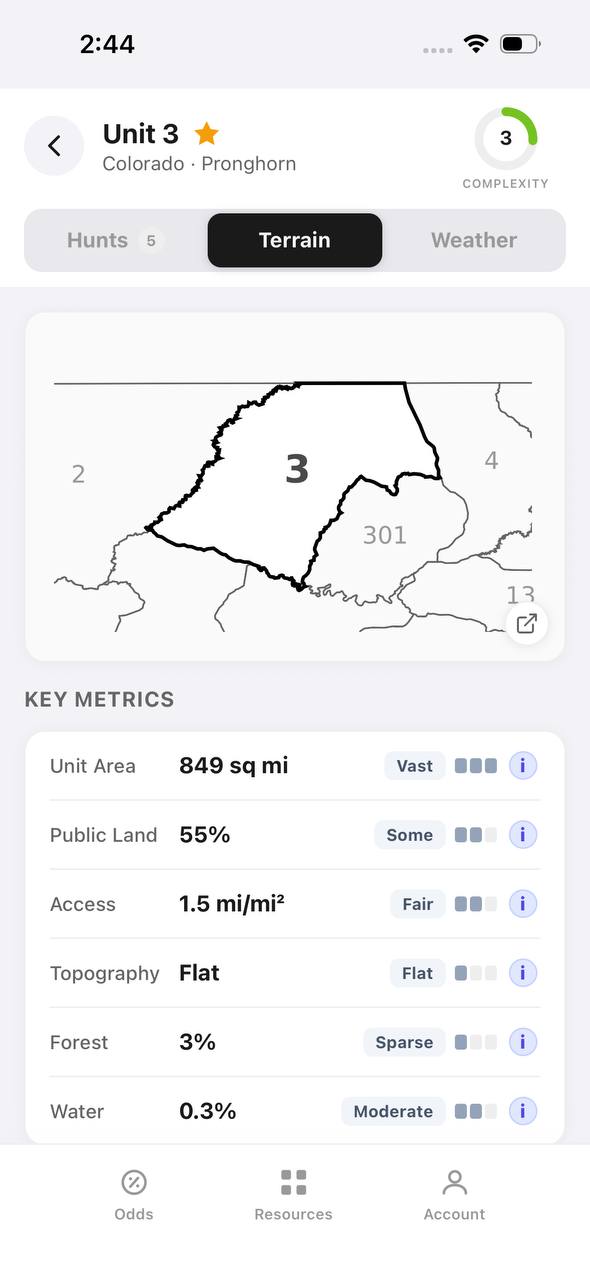
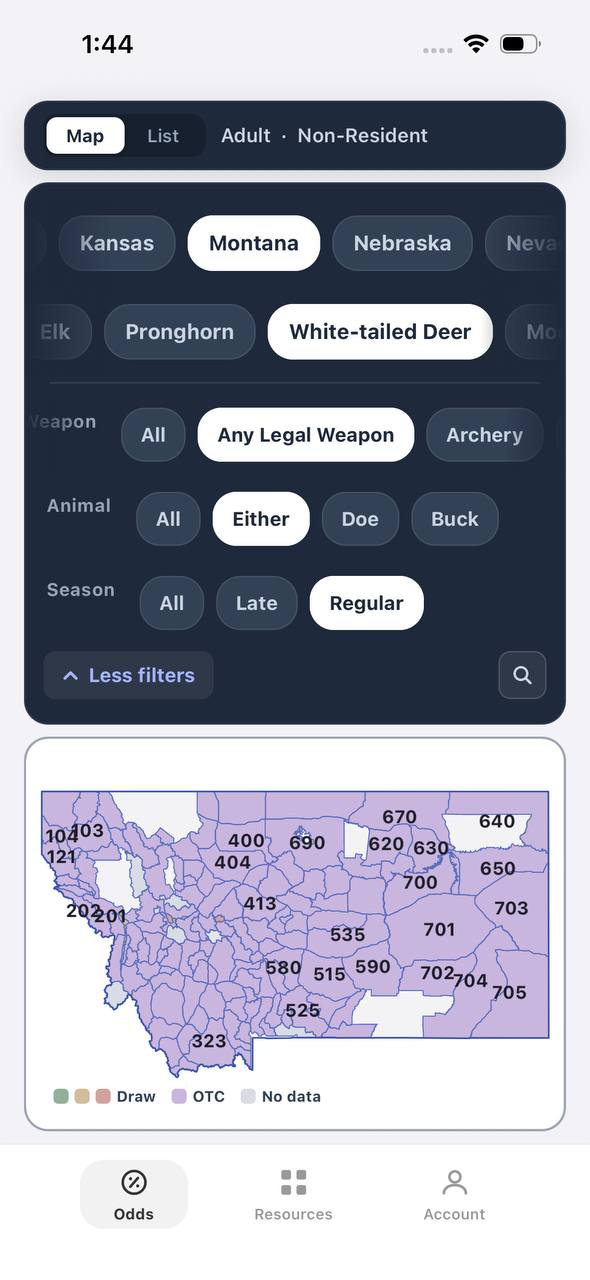
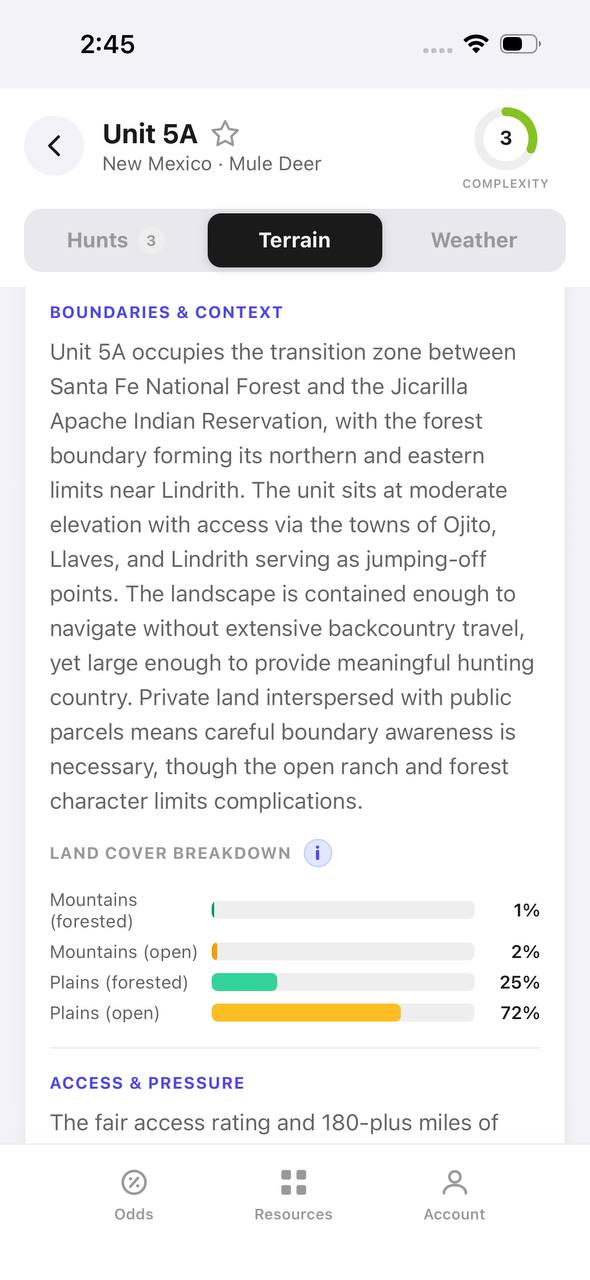
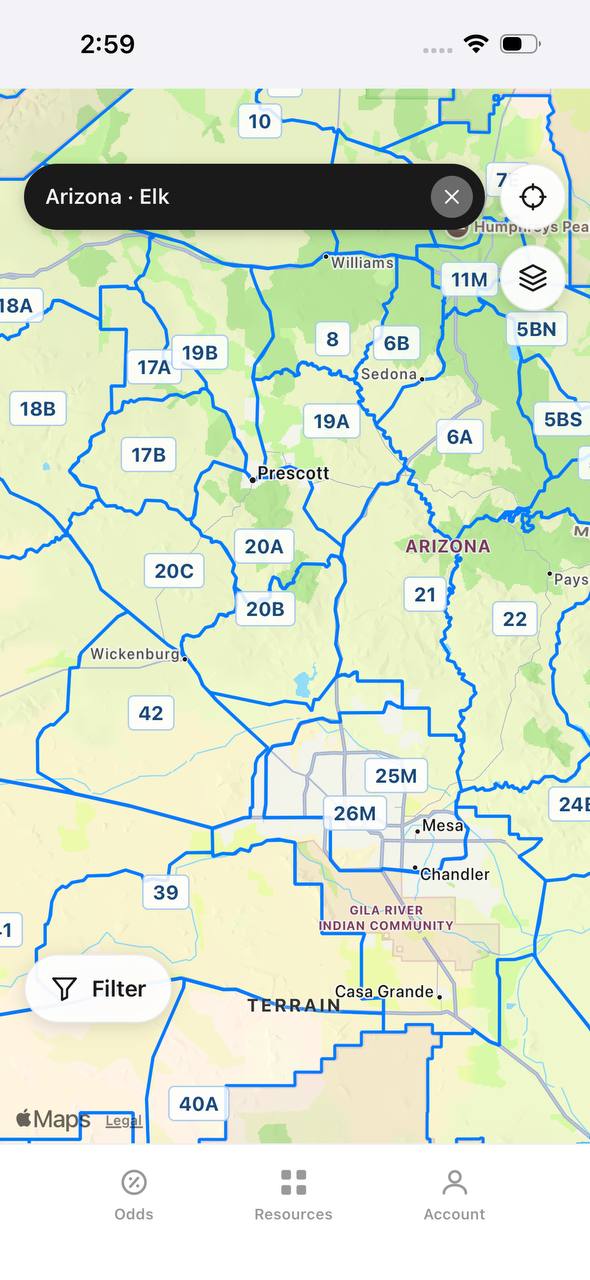
TAGZ unit maps and terrain layers help you identify glassing locations before you arrive. Filter units by terrain type and use satellite imagery to scout ridges, basins, and transition zones where elk concentrate. Mark potential glassing knobs in your app so you can navigate to them in the dark.
How to Glass Methodically Without Missing Elk
Most hunters glass too fast. They scan an entire basin in five minutes, see nothing, and move on. Elk blend into their environment. A bedded bull in timber looks like a tan rock. A feeding cow in oak brush disappears into the mottled background. Effective glassing requires patience and a systematic approach.
Start close. Glass the terrain within 200 yards of your position first. Elk bed closer to hunters than most people realize, especially in thick cover. Then work outward in overlapping sections. Divide the landscape into manageable zones—a timbered draw, an aspen patch, a grassy slope—and glass each zone thoroughly before moving to the next.
Look for parts of elk, not whole animals. A horizontal line in vertical timber. An ear flick. A patch of brown that is slightly warmer in tone than surrounding vegetation. The sun glinting off an antler tine. Movement catches the eye, but bedded elk rarely move. Train yourself to identify shapes and colors that do not fit the terrain.
Glass the same country multiple times throughout the day. Elk that were invisible at first light might feed into view by mid-morning. A bull bedded in deep shade at 8 AM might stand and stretch at 10 AM. Conditions change. Your ability to see elk changes with them.
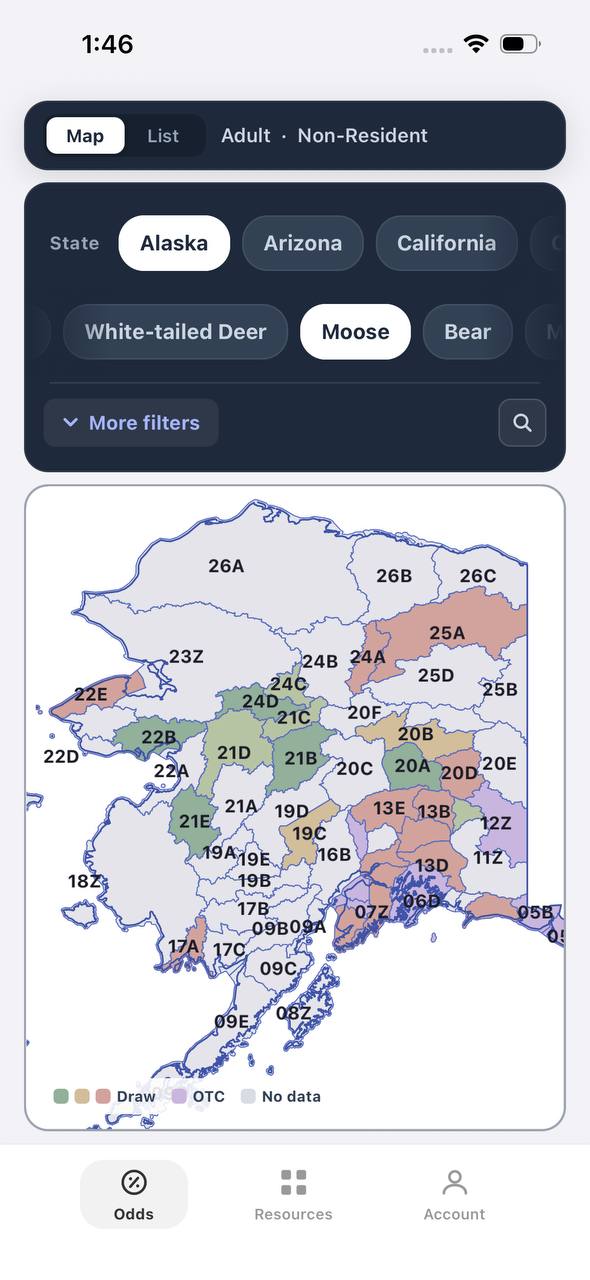
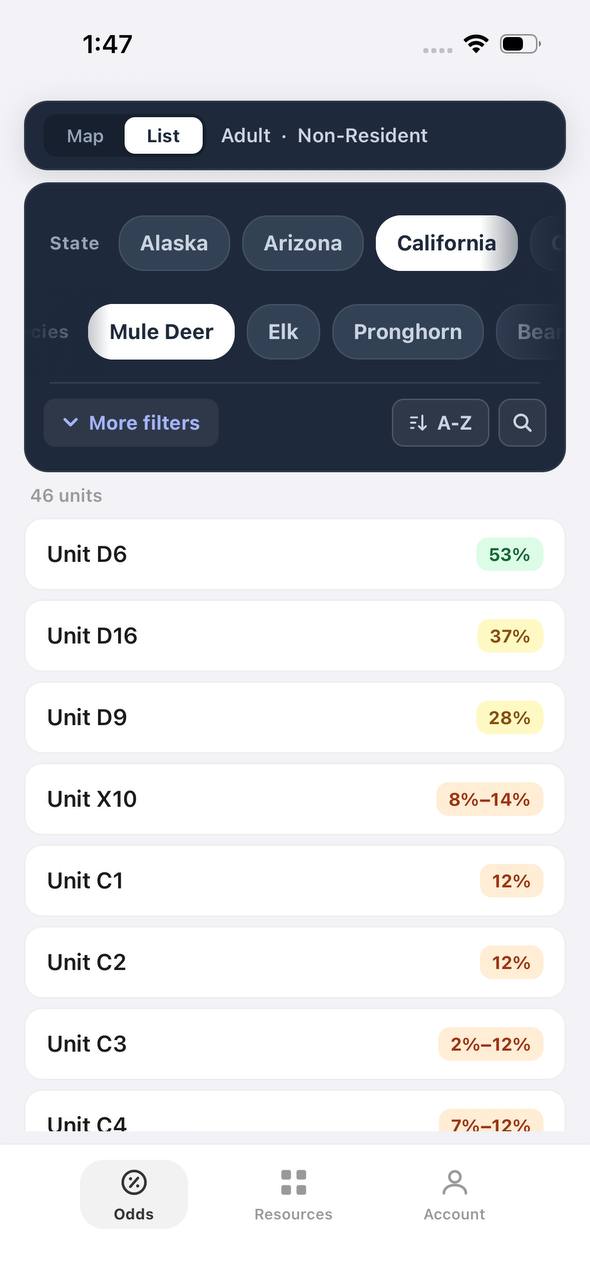
Free to join
Download mobile app
- Detailed draw odds
- Point tracking
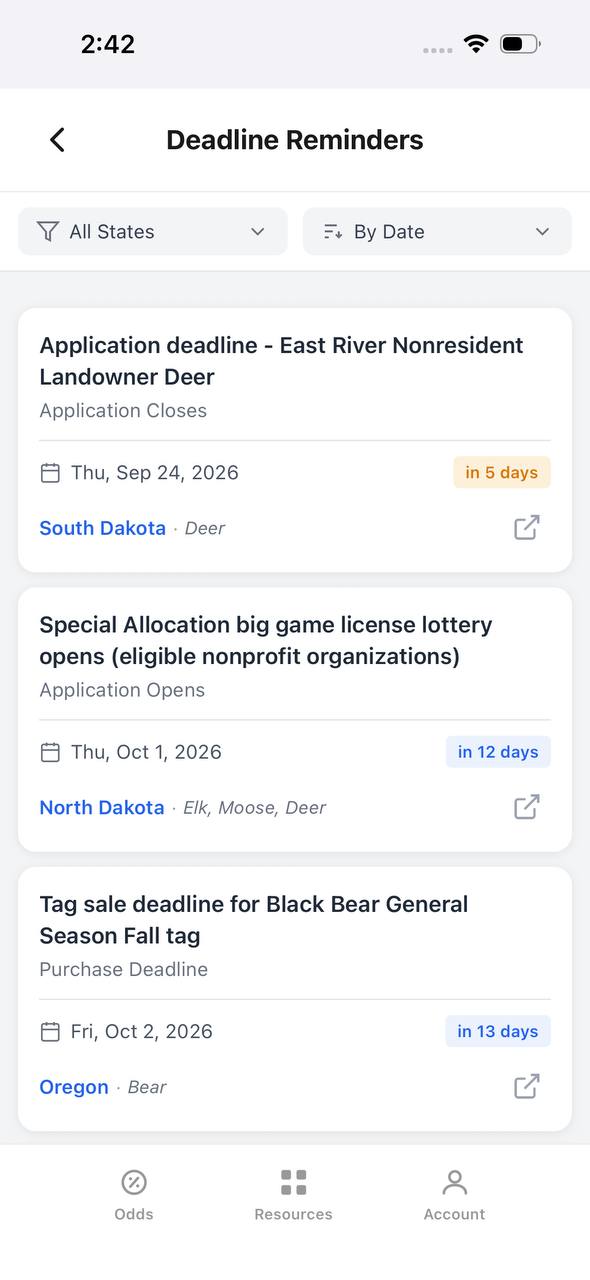
- Deadline reminders
- 18 states covered

Free to join
Download mobile app
- Detailed draw odds
- Point tracking
- Deadline reminders
- 18 states covered
Free to join
Download mobile app
- Detailed draw odds
- Point tracking
- Deadline reminders
- 18 states covered
Best Times of Day for Glassing Success
First light and last light are prime glassing windows, but for different reasons. Morning sessions target elk transitioning from feeding areas to bedding areas. You want to catch them moving through openings before they bed for the day. Set up in the dark so you are glassing as shooting light arrives.
Evening sessions target elk leaving bedding areas and moving toward feeding areas. Position yourself to glass into basins and parks where elk feed after dark. You might not shoot a bull in the last 30 minutes of light, but you learn where they are going. That information lets you set up closer the next morning.
Mid-day glassing gets overlooked but pays off during rifle season when elk do not vocalize. Bedded elk are easier to spot once the sun climbs high and shadows shrink. Glass south-facing slopes with scattered timber and north-facing pockets of dark timber where elk escape heat.
Reading Terrain to Predict Where Elk Will Be
Elk use terrain predictably. They feed in open parks, meadows, and avalanche chutes during low-light hours. They bed in timber with good thermals, visibility, and escape routes during the day. Understanding these patterns lets you focus your glassing on high-probability areas instead of glassing every acre equally.
Look for transition zones where thick timber meets open country. Elk feed in the open and retreat into timber when pressured. Glass the edge. Look for finger ridges that drop from high basins into timbered drainages. Elk use these as travel corridors.
Pay attention to water sources, especially during dry years. Elk need water daily. A spring or seep in a remote basin concentrates elk. TAGZ terrain layers and public land boundaries help you identify these features. You can scout water sources digitally and prioritize glassing locations near reliable water.
Glassing Techniques for Different Terrain Types
Alpine basins require different glassing techniques than timbered draws. In open alpine country, start with your spotting scope and systematically glass every rock pile, willow patch, and krummholz thicket. Elk bed in surprisingly open country above treeline, relying on distance and terrain to protect them.
In timbered country, use your binoculars to scan timber edges, openings within the timber, and parks surrounded by trees. Look for elk feeding in small meadows or bedded in the first row of trees bordering an opening. Spotting scopes work for confirming animals, but binoculars are better for covering timbered terrain quickly.
In broken country with a mix of timber, rock, and open slopes, combine both techniques. Use binoculars to scan quickly and identify areas worth deeper investigation. Switch to your spotting scope to pick apart distant pockets of cover.
Common Glassing Mistakes That Cost Hunters Elk
Glassing from the truck is a mistake. You see the same roadside country every other hunter sees. Walk 30 minutes from the trailhead to reach country that receives less pressure. The effort pays off.
Moving too much is another mistake. Hunters glass for 20 minutes, see nothing, and relocate. Good glassing requires commitment. Spend two hours in a single location glassing thoroughly before moving. Elk reveal themselves slowly.
Ignoring bad weather is a mistake. Overcast days and light rain improve glassing conditions. Elk move more during the day when cloud cover reduces hunting pressure and heat. Some of the best glassing happens when most hunters stay in camp.
Glassing without a plan wastes time. Use TAGZ unit research tools to identify terrain features, elevation zones, and cover types before your hunt. Filter units by draw odds and success rates so you hunt where your glassing efforts are most likely to pay off. Mark glassing locations, bedding areas, and feed zones in your mapping app so you maximize every morning and evening session.
How TAGZ Helps You Plan Better Glassing Strategies
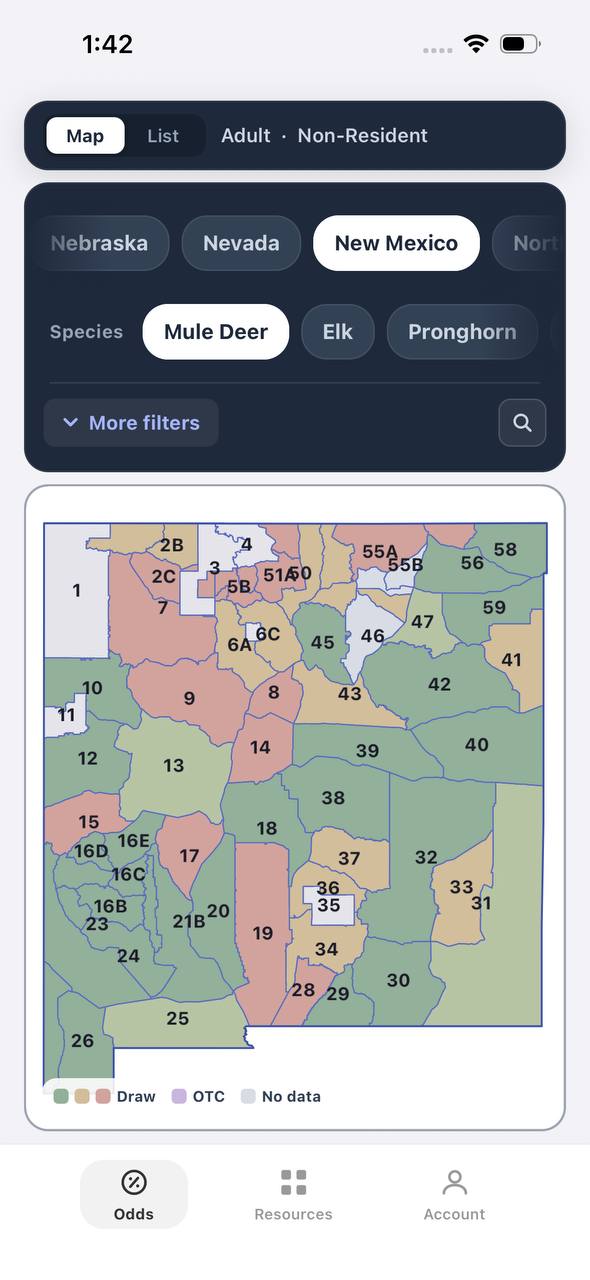
TAGZ gives you the tools to identify prime glassing locations before you ever leave home. Unit maps with terrain overlays show you ridgelines, basins, and elevation changes. Public land boundaries help you locate huntable country away from private land. Historical draw data lets you compare units and choose hunts where your odds justify the effort.
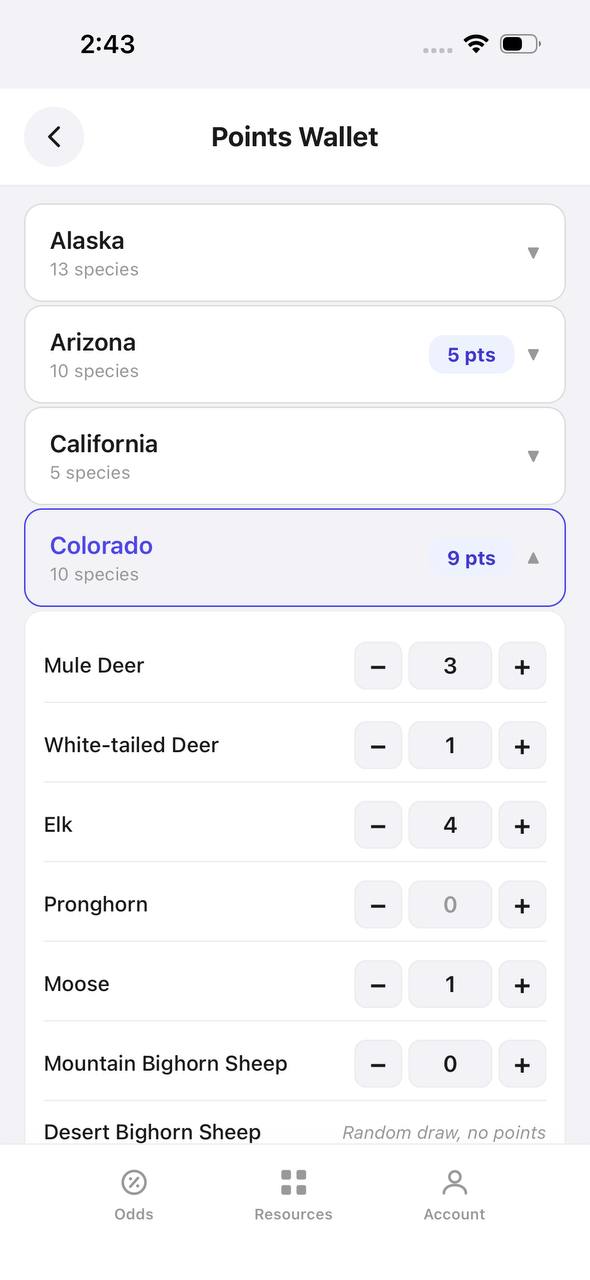
Track your preference points and bonus points across multiple states so you know when to apply for limited-entry units with better elk densities and less hunting pressure. Filter units by weapon type, season dates, and terrain characteristics to find hunts that match your glassing style. Whether you are planning an OTC Colorado hunt or applying for a limited-entry Wyoming tag, TAGZ helps you make smarter decisions before you step into the field.
FAQ — Glassing for Elk
What magnification binoculars are best for elk hunting?
10x42 or 12x50 binoculars work best for elk hunting. The 10x provides a good balance of magnification and stability for handheld glassing, while 12x offers more reach but benefits from a tripod for extended use.
Do I need a spotting scope to glass for elk?
Yes, a spotting scope is essential for judging bulls at distance and confirming what you see in your binoculars. A 65mm to 85mm scope with 20-60x zoom capability allows you to evaluate antlers and plan stalks without moving closer and risking detection.
When is the best time of day to glass for elk?
First light and last light are the most productive glassing windows, as elk transition between feeding and bedding areas. Mid-day glassing also works during rifle season when bedded elk become visible as sun angles change and shadows shrink.
How long should I glass from one location?
Spend at least two hours glassing from a single location before relocating. Elk reveal themselves slowly, and systematic glassing of the same terrain multiple times often uncovers animals you missed during your first pass.
What should I look for when glassing for elk?
Look for parts of elk rather than whole animals—a horizontal line in vertical timber, an ear flick, a patch of tan that contrasts with surrounding vegetation, or sunlight reflecting off antler tines. Movement helps, but bedded elk rarely move during the day.
Can I glass effectively without a tripod?
A tripod dramatically improves glassing effectiveness by reducing fatigue and allowing you to hold your optics steady during extended glassing sessions. Handheld glassing works for quick scans, but serious glassing requires a stable platform for both binoculars and spotting scopes.
Continue Planning Your Hunt
Effective glassing starts with choosing the right unit. Use TAGZ unit research tools to compare draw odds, terrain types, and elk densities across multiple states. Track your preference points and bonus points so you know when to apply for premium limited-entry units versus OTC opportunities.
Explore more elk hunting strategies on the TAGZ Insights blog, where we break down draw systems, unit selection, and hunt planning tactics that help western hunters make smarter decisions. Whether you are a first-time elk hunter or a veteran chasing your next bull, TAGZ gives you the tools to plan better hunts and maximize your time in the field.
Ready to start planning your 2026 elk hunt? Create a free TAGZ account and explore unit maps, draw data, and hunt filtering tools that simplify western big-game applications and put you in better country before the season even opens.
Was this article helpful?
Previous
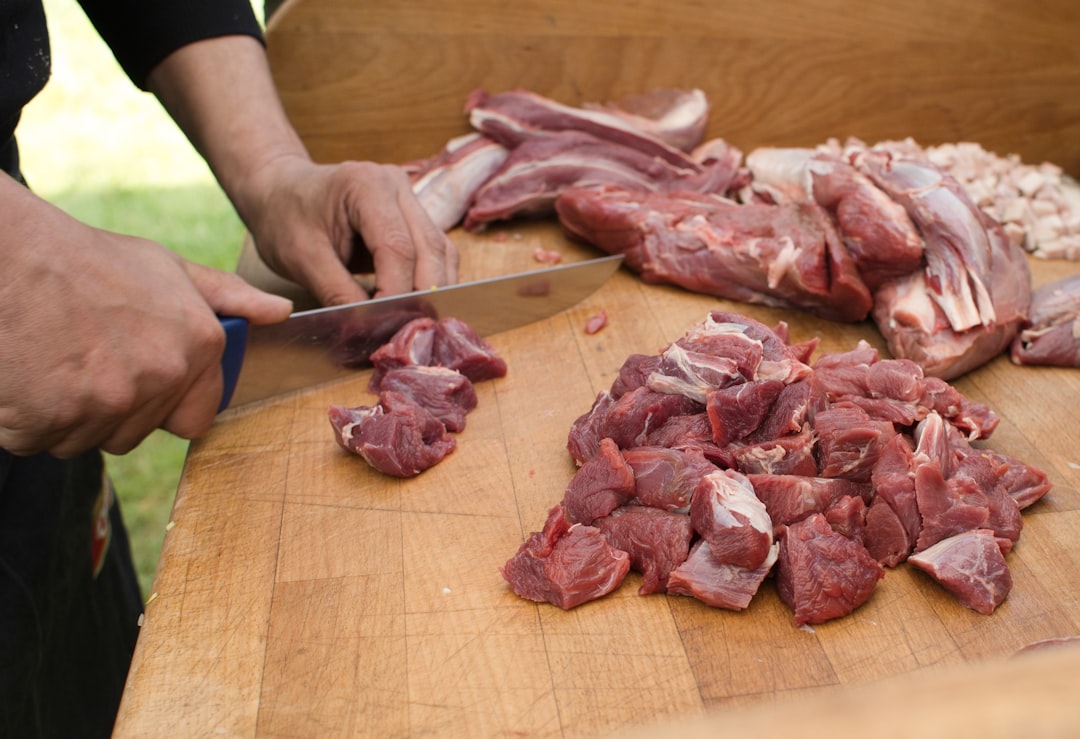
Alligator Meat Processing and Cooking Guide for Hunters
Learn how to properly field dress, butcher, and cook alligator meat after a successful hunt. This complete guide covers processing techniques, cut selection, preparation methods, and proven recipes that turn gator into table-ready meals.
Related
Best Rifle Calibers for Sheep Hunting: What Works in Alpine Terrain
Sheep hunting demands precise long-range shooting at altitude. This guide breaks down the best rifle calibers for sheep hunting in 2026, from lightweight mountain rifles to long-range precision setups, with real-world performance data and ballistics comparisons.
Next
Best Side-by-Sides for Elk Hunting 2026: Top UTVs for Backcountry Access
From steep mountain trails to rugged forest roads, the right side-by-side makes all the difference when accessing elk country. We break down the best UTVs for 2026 based on payload, ground clearance, reliability, and real-world performance in western terrain.