Digital Scouting for Mule Deer: How to Find Big Bucks Before You Ever Leave Home
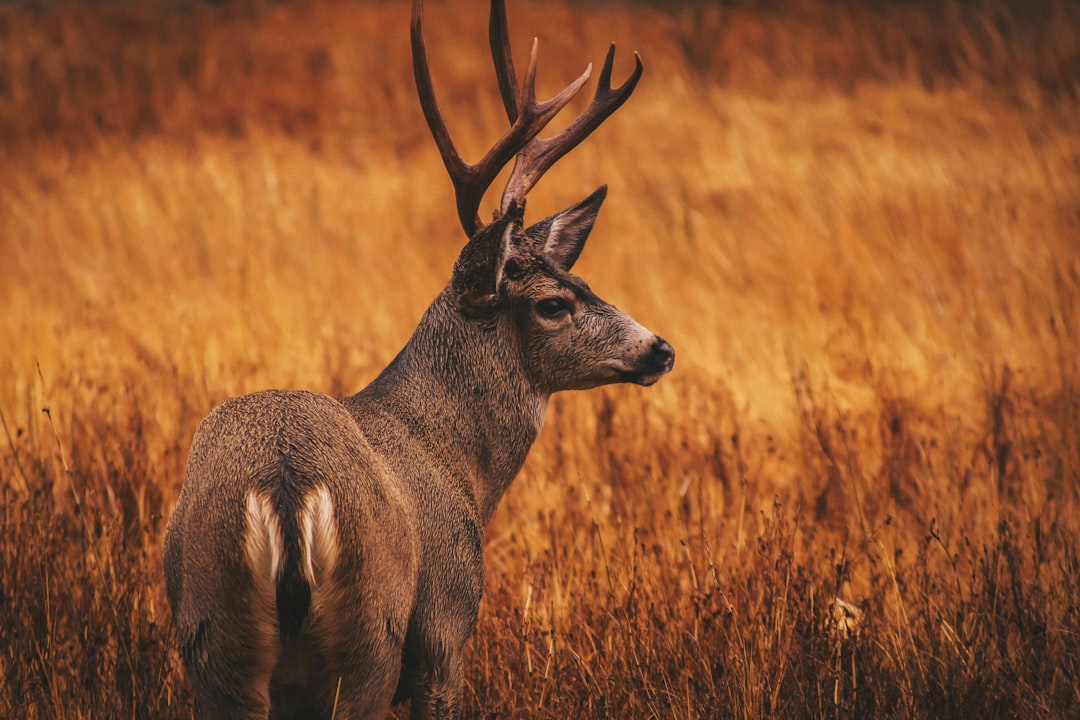
Every experienced mule deer hunter knows that success starts long before opening day. The difference between tagging out and eating your tag often comes down to how well you understand the terrain, the deer patterns, and where to invest your limited hunting days. Digital scouting gives you that edge without burning vacation time or alerting other hunters to your plans.
Using satellite imagery, topographic maps, and modern mapping tools, you can identify high-probability bedding areas, feeding zones, water sources, and glassing points from your computer or phone. This is not about replacing boots-on-the-ground scouting. It is about making every hour in the field count by arriving with a solid game plan instead of wandering aimlessly hoping to stumble onto deer.
Why Digital Scouting Works for Mule Deer
Mule deer behavior is predictable when you understand their habitat preferences. They bed in security cover with good escape routes, feed in productive browse areas during low-light periods, and move along terrain features that offer both food and safety. Unlike whitetails that might hold tight in small timber patches, mule deer use large landscapes and their patterns are written into the topography.
Digital scouting lets you read that landscape before you arrive. You can identify north-facing slopes that hold moisture and better browse, pinpoint saddles and benches where deer transition between feeding and bedding areas, and locate glassing knobs that let you observe multiple basins without spooking deer. When you combine satellite imagery that shows vegetation type and density with high-resolution topographic data, you start seeing the country the way mule deer see it.
The best part? You can scout a dozen units in the time it would take to drive to one. That means smarter draw decisions, better backup plans when your first-choice unit gets crowded, and the ability to adapt quickly if conditions change.
The Tools You Need
You do not need expensive software to digitally scout mule deer effectively. A few free and low-cost tools will cover most hunters.
Google Earth is the foundation. The free version gives you high-resolution satellite imagery, 3D terrain visualization, and the ability to measure distances and elevations. Switch between historical imagery to see how vegetation changes across seasons and years. The 3D view is critical for understanding how steep a slope actually is and whether you can realistically access certain areas on foot.
OnX Hunt or similar mapping apps bring in hunt-specific layers like unit boundaries, public and private land ownership, roads, and trails. OnX also includes a slope-angle shading layer that instantly shows you which faces are north-facing versus south-facing. The offline map capability means you can keep scouting in the field even without cell service.
Caltopo or Gaia GPS are alternatives with similar functionality and strong topographic options. Both let you create custom waypoints, draw routes, and share maps with hunting partners.
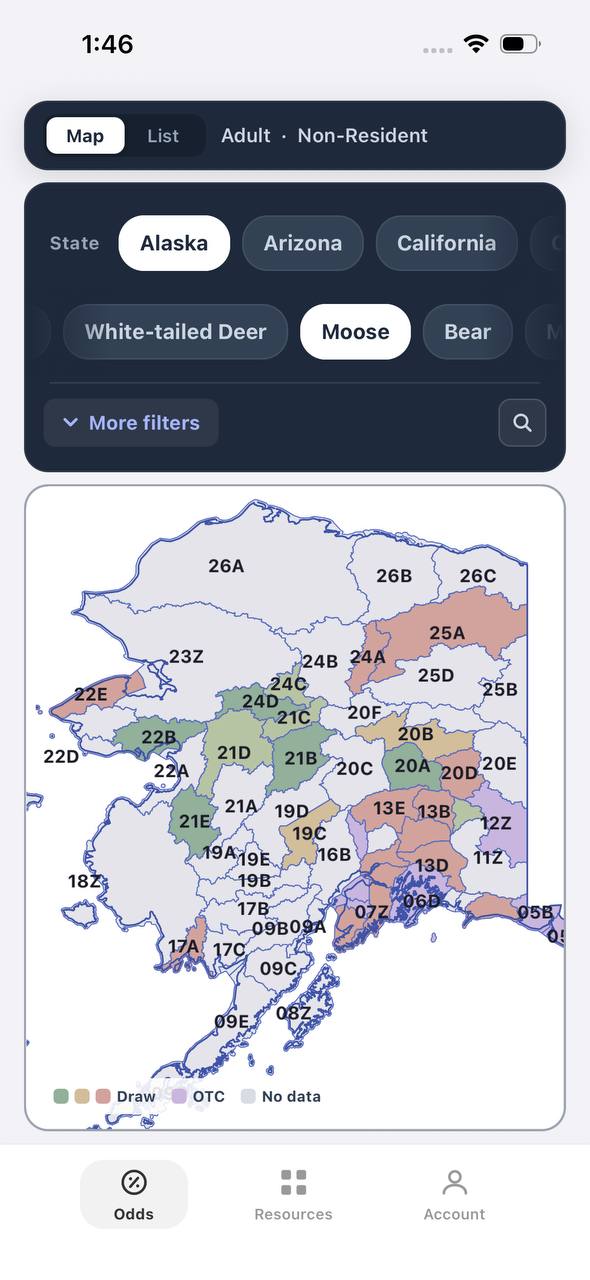
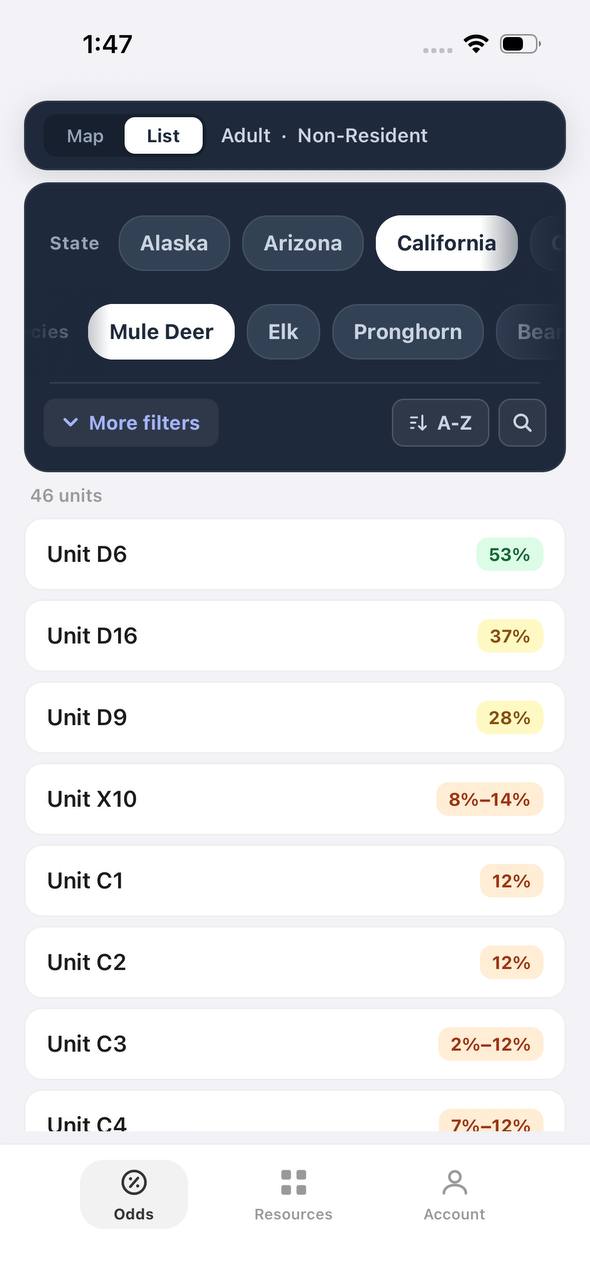
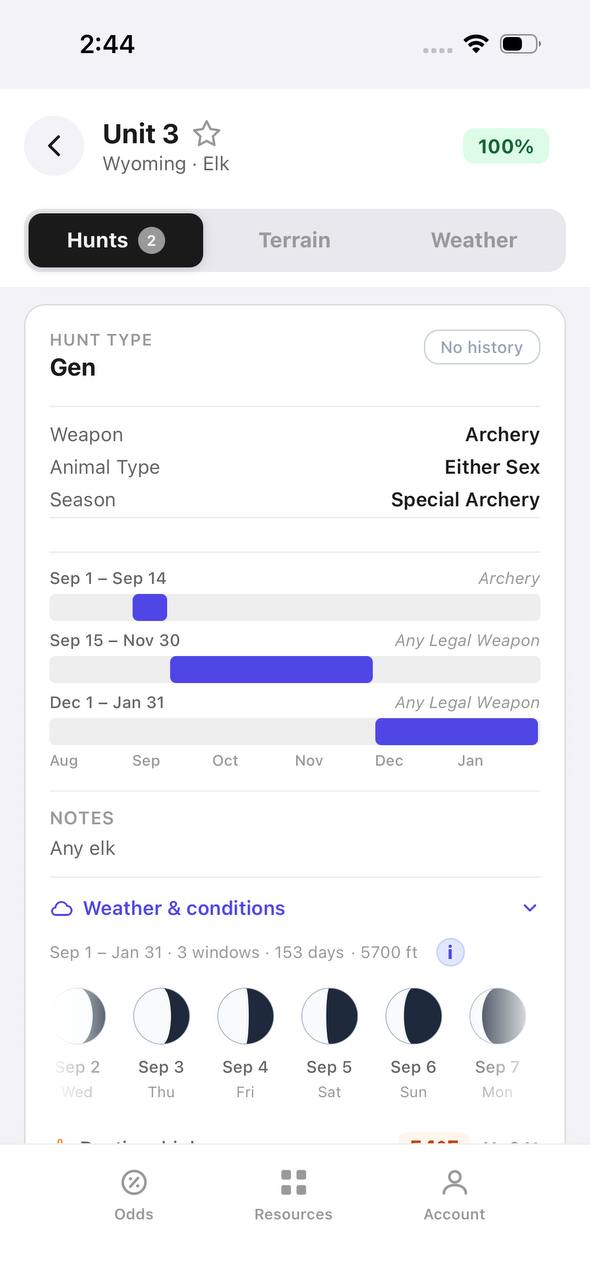
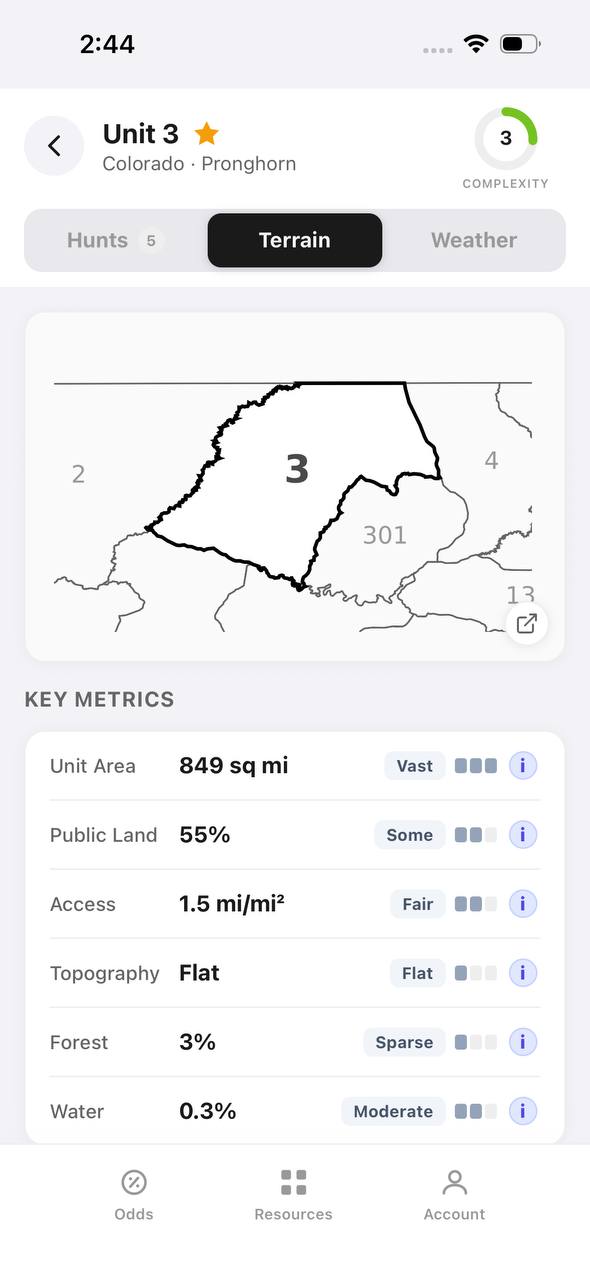
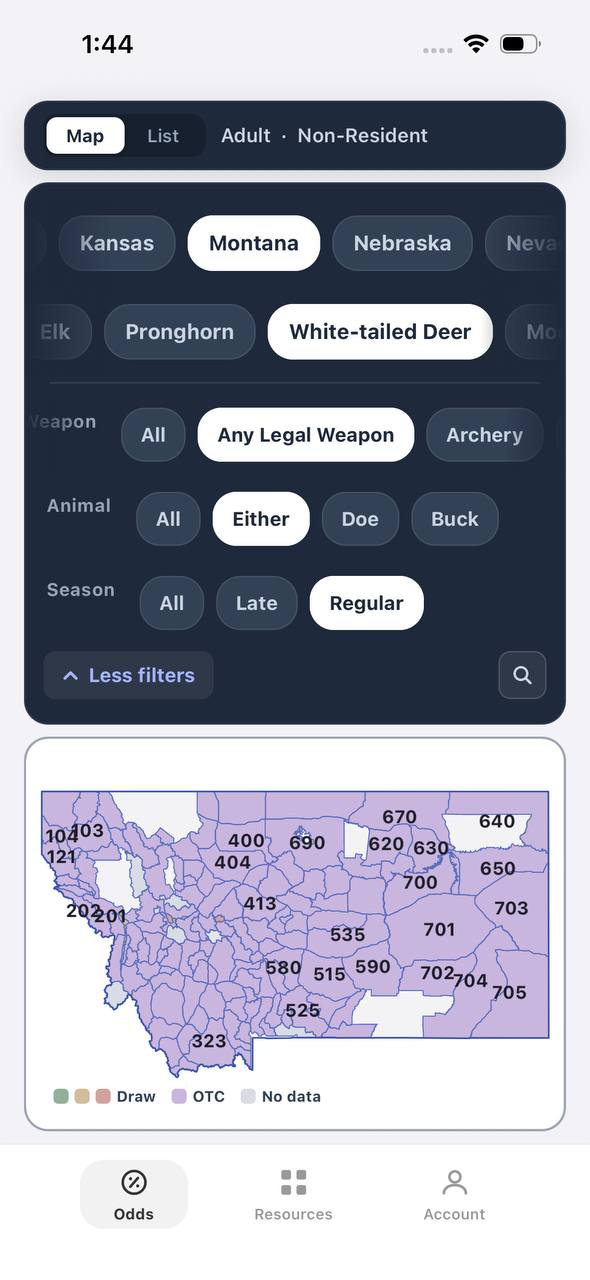
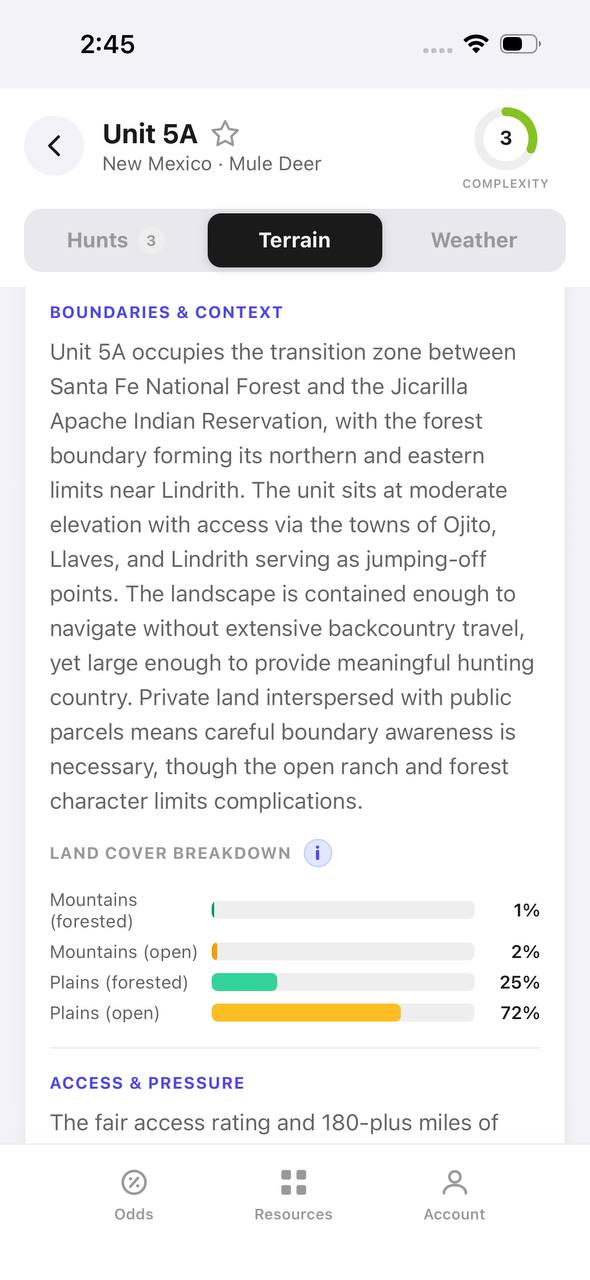
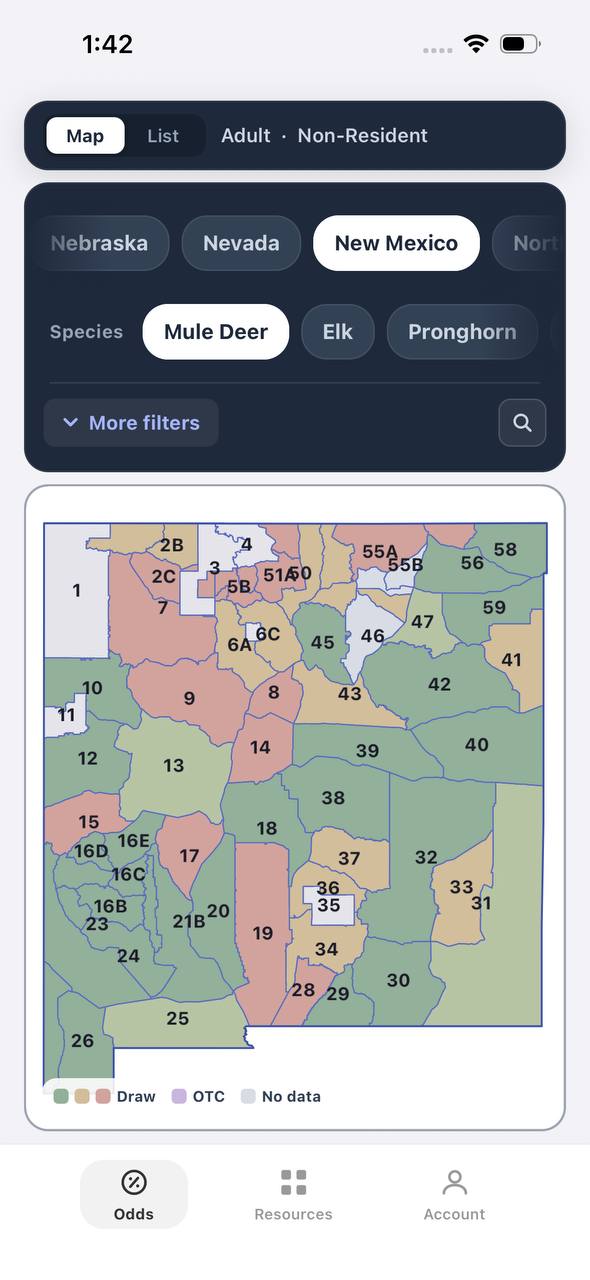
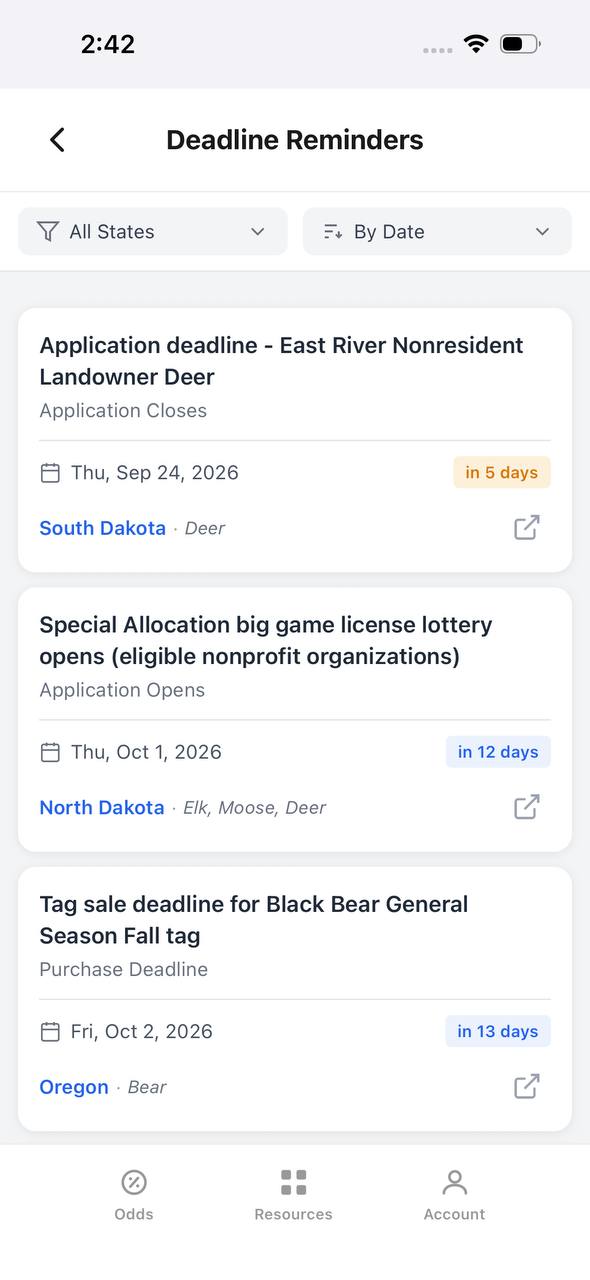
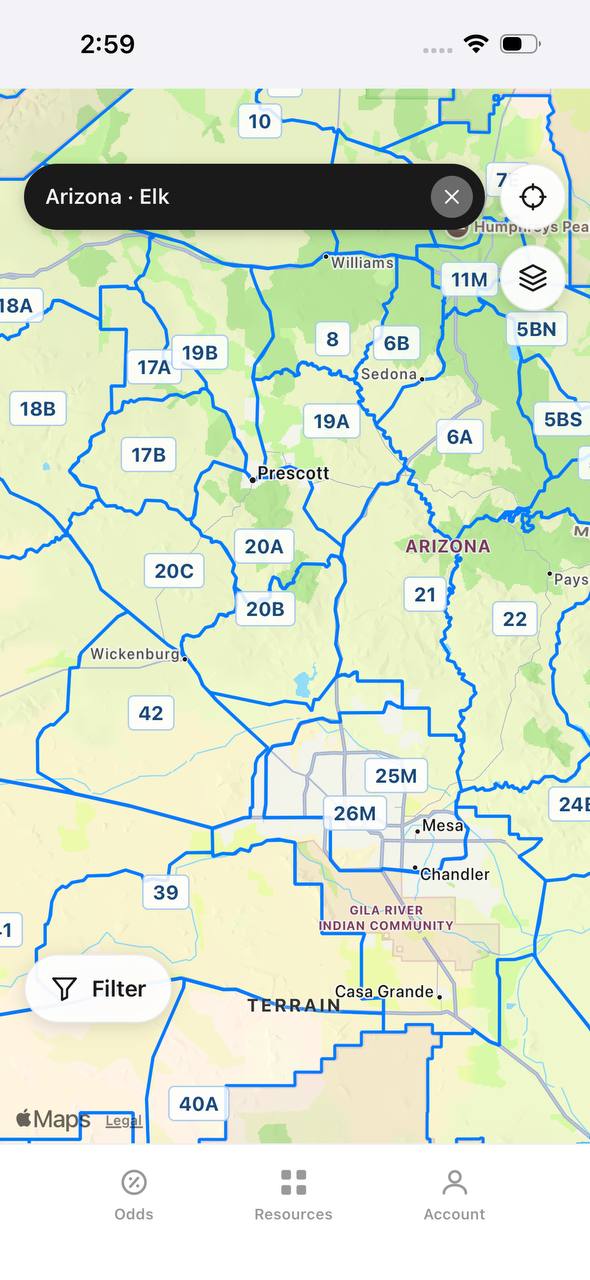
TAGZ helps you go deeper by overlaying unit boundaries, public land access points, and terrain data alongside historical draw odds and application strategies. You can compare multiple units side by side using the same digital scouting workflow, then track your preference points and application deadlines across states so you never miss an opportunity.
Reading Satellite Imagery for Mule Deer Sign
Satellite imagery shows you vegetation type, density, and moisture levels. Mule deer are browsers, not grazers, so you are looking for areas with mixed browse — mahogany, bitterbrush, sagebrush, aspen, and oakbrush depending on the region.
Dark green patches in otherwise tan or brown landscapes usually indicate north-facing slopes, drainages, or areas with springs and seeps. These hold better feed later into the season and recover faster after drought. Mule deer will concentrate in these pockets, especially during dry years or late-season hunts when other browse has dried up.
Patchwork vegetation is better than solid uniform cover. Mule deer thrive in edge habitat where different vegetation types meet. Look for transitions between timber and sagebrush, aspen groves scattered through oakbrush, or fingers of dark timber reaching into open basins.
Isolated timber stringers or rock outcrops in otherwise open country are prime bedding areas. Mule deer want to bed where they can see approaching danger but still have quick escape cover. A small cluster of pines or a rimrock band on a ridgeline fits that perfectly.
Burned areas can be gold mines three to seven years post-fire. New growth explodes after a burn and mule deer pour into these areas for the high-protein browse. Use Google Earth's historical imagery to identify burn scars and estimate their age.
Using Topography to Predict Movement
Mule deer are lazy. They will take the path of least resistance between bedding and feeding areas, and they prefer terrain that gives them options if pressured. Your job is to identify those travel corridors before you ever glass a hillside.
Saddles and benches are mule deer highways. A saddle is a low point along a ridge that connects two drainages. Deer cross ridges at saddles because it requires less elevation gain. A bench is a flat or gently sloped shelf partway up a mountainside. Deer bed on benches because they offer security, good visibility, and easy escape routes both uphill and downhill.
Use the 3D view in Google Earth or the contour lines in OnX to find these features. Set your viewpoint low and rotate around the terrain. Saddles will look like dips or notches in the ridgeline. Benches will show up as breaks or terraces in otherwise steep slopes.
North-facing vs. south-facing slopes matter more than most hunters realize. North-facing slopes stay cooler, hold snow longer in the spring, and support better browse. Mule deer prefer north-facing bedding areas during warm weather and early-season hunts. South-facing slopes green up earlier in the spring and lose snow faster in the fall, making them better late-season feeding areas.
OnX Hunt's slope-aspect shading makes this obvious. North-facing slopes show up in blue or purple tones, south-facing in red or orange. If you are hunting early archery season in August or September, focus your digital scouting on north-facing pockets near water. If you are hunting late rifle in November, look for south-facing feeding areas adjacent to secure bedding cover on the north side.
Elevation bands tell you where deer will be depending on season and hunting pressure. During early season, bucks often stay high near timberline where it is cooler and pressure is lower. As the rut kicks in and weather deteriorates, they drop into mid-elevation transition zones where does concentrate. By late season, many deer push down to winter range in lower sagebrush and pinyon-juniper country.
Mark elevation bands on your digital maps. If your unit spans 7,000 to 11,000 feet, note where the major transitions happen. Identify drainages and benches within each band so you have multiple plan options depending on conditions.
Free to join
Download mobile app
- Detailed draw odds
- Point tracking
- Deadline reminders
- 18 states covered

Free to join
Download mobile app
- Detailed draw odds
- Point tracking
- Deadline reminders
- 18 states covered
Free to join
Download mobile app
- Detailed draw odds
- Point tracking
- Deadline reminders
- 18 states covered
Finding Water Sources Digitally
Water is critical during early-season hunts and in arid units. Mule deer need to drink every day or two in hot weather, and they will pattern around reliable water sources.
Springs and seeps show up on satellite imagery as dark green vegetation surrounded by drier country. In high-resolution imagery, you might even see the wet soil or small puddles. Cross-reference these with topographic maps. Springs often occur where a geologic layer forces groundwater to the surface, typically at the base of a slope or where a drainage flattens out.
Stock tanks and guzzlers are harder to spot in satellite imagery but often marked on OnX Hunt or Gaia GPS. If you see a windmill or a tank marked on the map, scout the surrounding terrain for bedding areas within a half-mile to a mile. Deer will bed close enough to water that they can drink without exposing themselves during daylight.
Ephemeral drainages might hold water after monsoons or snowmelt even if they are dry most of the year. If you are hunting in August or September in Arizona or New Mexico, recent rains can create temporary water sources that concentrate deer. Check current weather and stream flow data before your hunt.
Identifying Glassing Points
The entire digital scouting process is pointless if you cannot efficiently observe the areas you have identified. Glassing is how you confirm or disprove your digital scouting hypotheses, and picking the right glassing points saves you miles of hiking and hours of wasted effort.
High points with wide viewsheds are obvious choices, but not all high points are created equal. You want a glassing knob that lets you see into multiple basins or drainages without skylined yourself. Use Google Earth's 3D view to simulate your line of sight from potential glassing points. Can you see the saddle you identified? Can you observe the north-facing benches where you think deer are bedding? If not, find a better vantage point.
Distance to target areas matters. If your glassing knob is two miles from the bedding area you want to observe, you will need serious optics and perfect conditions. If you can find a spot 600 to 1,000 yards away with good cover to hide your approach, you will spot more deer and have better shot opportunities if you decide to stalk.
Access routes should keep you below ridgelines and out of sight until you reach your glassing point. Draw your route on the map and check the elevation profile. If you have to cross a skyline or walk through an open saddle to reach your spot, deer will see you coming and disappear before you ever set up your spotter.
Multiple glassing points give you options depending on wind, light, and deer movement. Mark three to five spots per area you plan to hunt. Early morning light is best for glassing east-facing slopes. Evening light is best for west-facing slopes. Wind direction might make one spot unusable but another perfect.
Putting It All Together: A Digital Scouting Workflow
Here is the step-by-step process for digitally scouting a mule deer unit from scratch.
Step 1: Define your hunt area. Load the unit boundary into OnX or your mapping app. Identify major access points, trailheads, and roads. Rule out private land unless you have permission.
Step 2: Identify terrain features. Use 3D view and topographic contours to find saddles, benches, ridgelines, and basins. Mark these as waypoints.
Step 3: Analyze vegetation. Switch to satellite imagery and look for north-facing slopes, patchwork habitat, isolated bedding cover, and water sources. Mark promising areas.
Step 4: Pick glassing points. Find high points with good viewsheds of your target areas. Simulate your line of sight in 3D and plan your access routes.
Step 5: Prioritize areas. Rank your spots based on how many factors line up — good feed, nearby water, secure bedding, accessible glassing. Focus your in-person scouting on the top three to five areas.
Step 6: Build contingency plans. If your top area gets pressured or conditions change, you need backup options. Mark secondary glassing points and alternative drainages so you can adapt quickly.
Step 7: Refine with TAGZ. Use TAGZ to compare your target unit against alternatives. Check draw odds, point creep trends, and success rates. Overlay terrain layers and unit boundaries to confirm your digital scouting matches the official hunt area. Track your application deadlines so you apply on time.
Common Digital Scouting Mistakes
Even experienced hunters make these errors when scouting mule deer digitally.
Focusing only on road access. The easiest-to-reach spots get the most pressure. Look for areas that require a two- to four-mile hike from the nearest road. Most hunters will not go that far, and the deer know it.
Ignoring elevation profiles. A spot might look close on the map, but if you have to climb and descend multiple ridges to reach it, you will burn hours and spook deer. Always check the elevation profile of your planned route.
Not accounting for wind. Mule deer rely on their nose more than their eyes. A perfect bedding area is worthless if the prevailing wind blows your scent straight into it. Use topography to predict how thermals and wind will behave. Morning thermals rise, evening thermals fall. Plan your approach accordingly.
Overlooking small details. A single spring, a narrow saddle, or a small bench can be the difference between success and failure. Zoom in. Spend time studying the micro-terrain within your larger target areas.
Not verifying imagery dates. Satellite imagery in Google Earth and mapping apps can be several years old. Wildfires, logging, development, and vegetation changes can make your digital scouting outdated. Cross-reference with recent trip reports, social media posts, or check the imagery date before assuming conditions match what you see.
How TAGZ Makes Digital Scouting Faster and Smarter
TAGZ brings together terrain analysis, draw data, and hunt planning into one platform so you spend less time switching between tools and more time making decisions.
You can compare multiple units side by side using the same digital scouting workflow. Pull up terrain maps, unit boundaries, and public land layers for each unit, then overlay historical draw odds and success rates. If your first-choice unit is trending toward higher point requirements or overcrowding, you can quickly pivot to a backup unit that offers similar terrain and better draw odds.
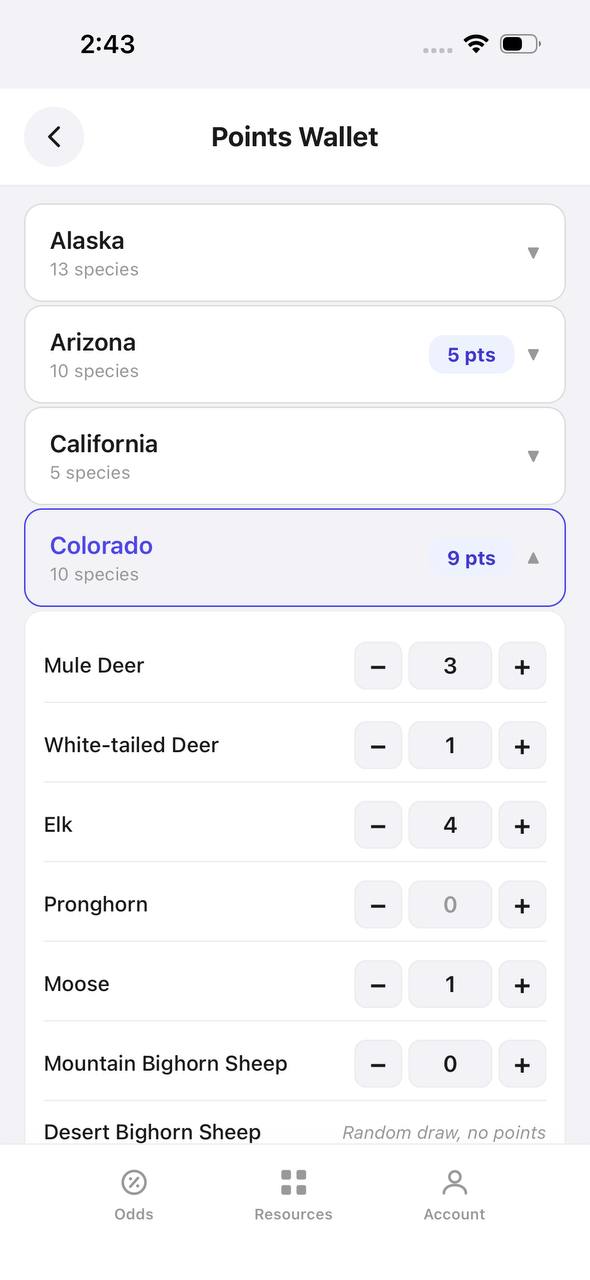
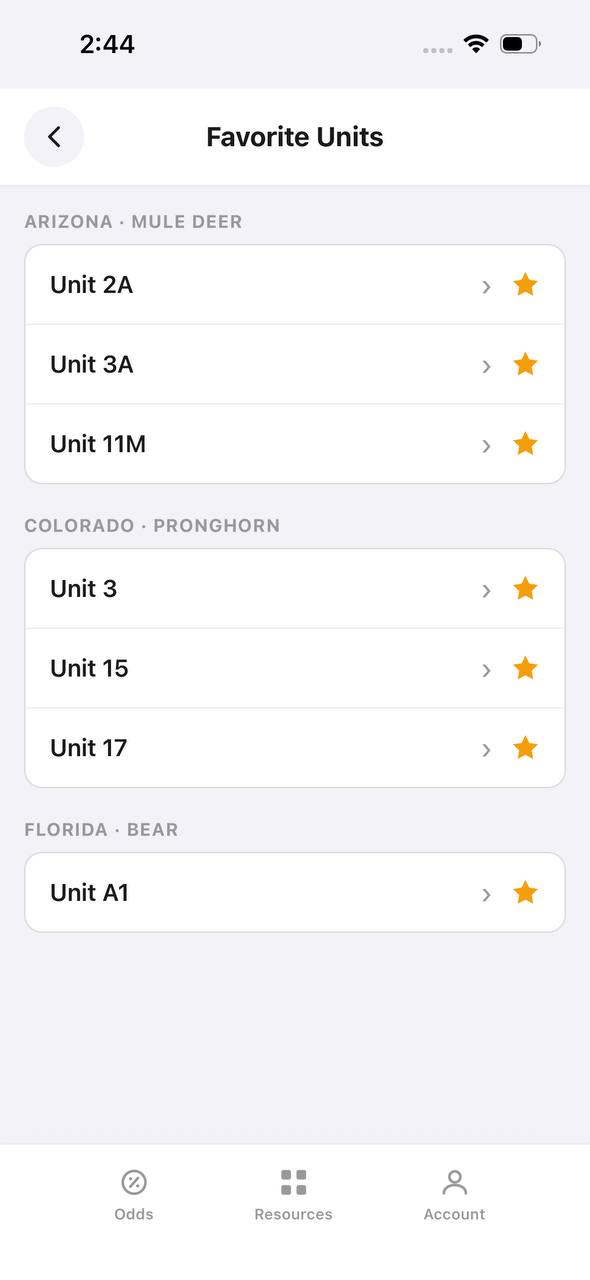
TAGZ also tracks your preference points and bonus points across every western state. You know exactly where you stand in the draw and which units you can realistically draw this year versus which ones require more points. That means your digital scouting is focused on hunts you can actually draw instead of wasting time on units that are years away.
The platform tracks application deadlines and sends reminders so you never miss a draw window. After you have digitally scouted a unit and built your game plan, the last thing you want is to forget to apply. TAGZ keeps you organized across multiple states and species so you can focus on hunting instead of paperwork.
FAQ — Digital Scouting for Mule Deer
What is the best free tool for digitally scouting mule deer? Google Earth is the best free option. It provides high-resolution satellite imagery, 3D terrain views, and the ability to measure distances and elevations. Pair it with a free trial of OnX Hunt to add hunt-specific layers like unit boundaries and land ownership.
How far in advance should I start digital scouting? Start at least three to six months before your hunt. This gives you time to refine your plan, scout multiple backup units, and adjust based on draw results or changing conditions. If you are planning a draw hunt, begin digital scouting a year in advance so you apply for the right unit.
Can digital scouting replace physical scouting? No. Digital scouting narrows your focus and builds a solid game plan, but you still need boots-on-the-ground time to confirm deer activity, verify access routes, and adjust for current conditions. Think of digital scouting as homework that makes your physical scouting drastically more efficient.
What is the most important terrain feature to look for when scouting mule deer? Benches and saddles. These terrain features funnel deer movement and provide secure bedding areas with escape routes. If you can identify benches on north-facing slopes near good feed and water, you have found a high-probability area.
How do I know if satellite imagery is current? Check the image date in the bottom corner of Google Earth or your mapping app. Imagery can be several years old. Cross-reference with recent reports from other hunters, social media posts, or local wildlife agencies to verify that conditions match what the imagery shows.
Does digital scouting work for OTC units? Absolutely. OTC units often see heavy pressure near roads and trailheads. Digital scouting helps you identify less-pressured areas that require more effort to access but hold undisturbed deer. Focus on spots two to four miles from the nearest road and verify access through public land.
Continue Planning Your Hunt
Digital scouting is just one piece of a successful mule deer hunt. Once you have identified your target areas, you need to make sure you are applying in the right units, managing your preference points across states, and tracking application deadlines so you never miss an opportunity.
TAGZ helps you do all of that in one platform. Compare units side by side using terrain maps, historical draw odds, and unit boundaries. Track your points and application deadlines across every western state. Filter hunts by weapon type, season, and species to find the opportunities that match your goals.
Whether you are chasing a limited-entry trophy unit or planning an OTC hunt, TAGZ gives you the tools to make smarter decisions before you ever step into the field. Check out the TAGZ product to see how it simplifies mule deer hunt planning from application season through the hunt itself.
For more strategies and insights, explore the TAGZ Insights blog for articles on draw odds, unit breakdowns, and scouting tactics. If you are ready to start planning, visit the TAGZ homepage or review pricing options that fit your hunting goals.
Was this article helpful?
Previous
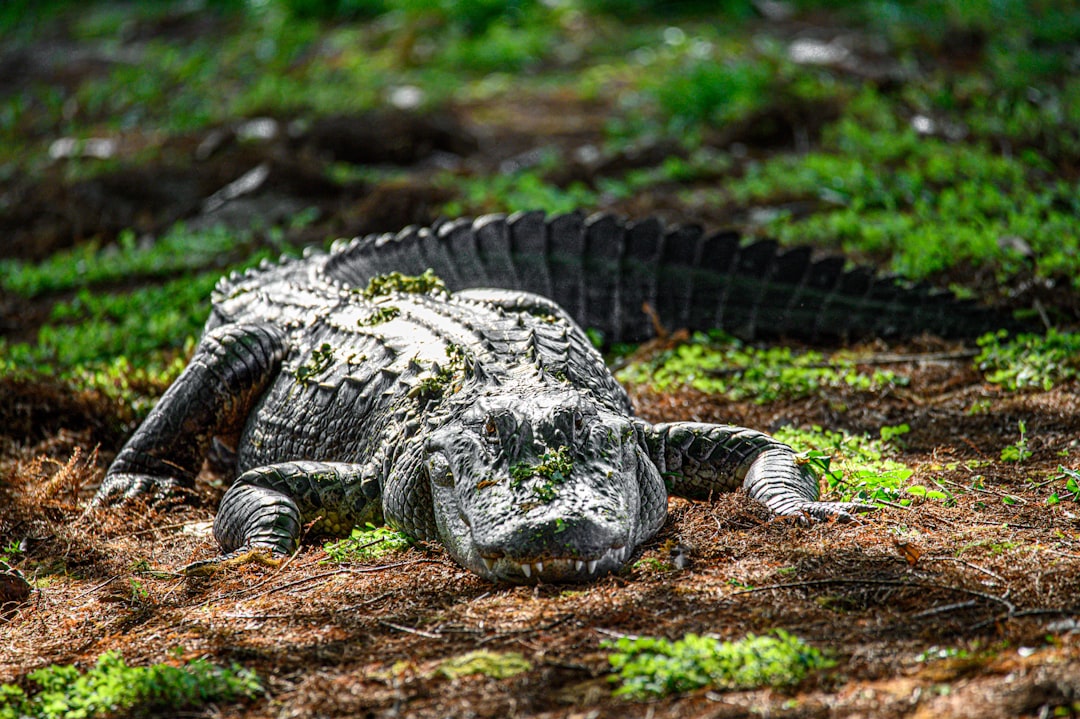
Florida Alligator Hunting Costs Explained: Permits, Guides, and Budget Planning
Florida alligator hunting costs range from $300 for a DIY public-land hunt to $3,000+ for a guided trophy hunt. Learn what you'll pay for permits, licenses, guides, gear, and processing to plan your budget accurately.
Related
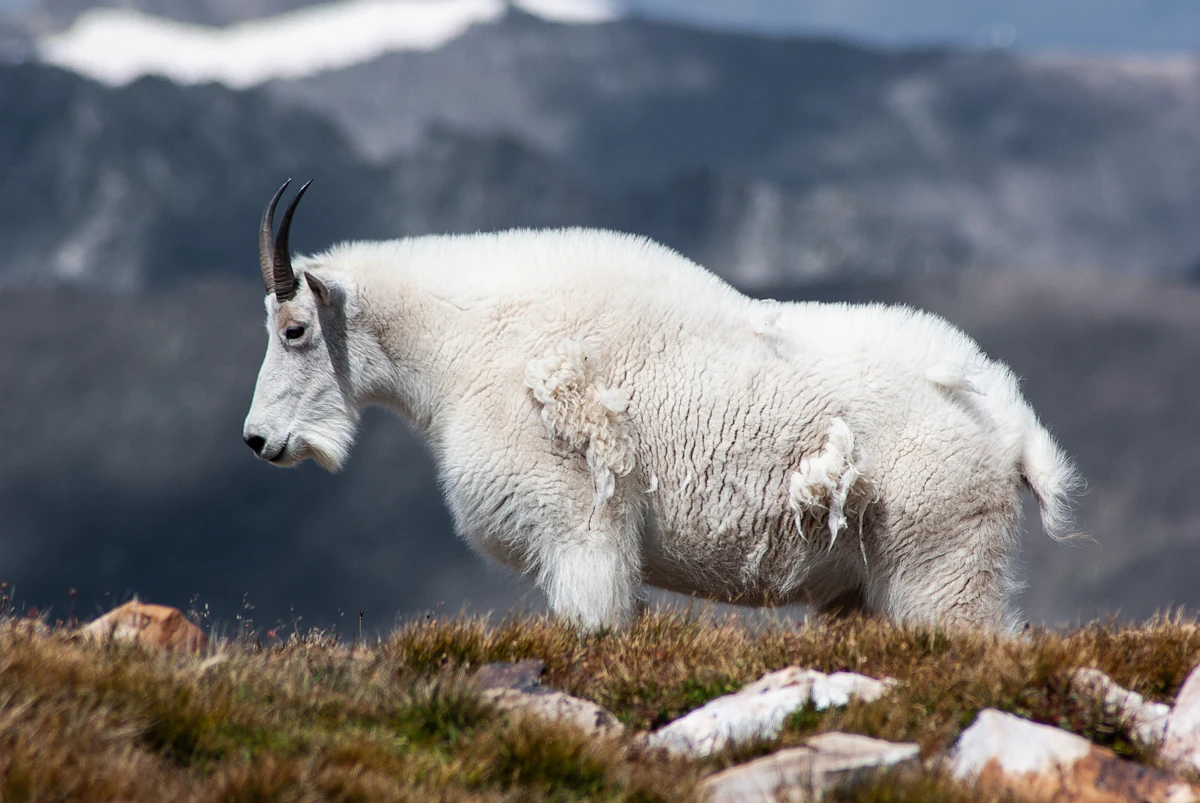
Complete Mountain Goat Hunting Guide: Planning, Draws, and Strategy
Mountain goat hunting demands meticulous planning, physical conditioning, and strategic draw management. This comprehensive guide covers application strategies, unit selection, gear essentials, and field tactics for one of North America's most challenging alpine hunts.
Next
Florida Alligator Hunting Costs Explained: Permits, Guides & DIY Breakdown
Florida alligator hunting costs range from $272 for a DIY resident hunt to $2,500+ for guided trophy hunts. Permits, meat processing, and taxidermy add up fast—here's what to budget before you apply.