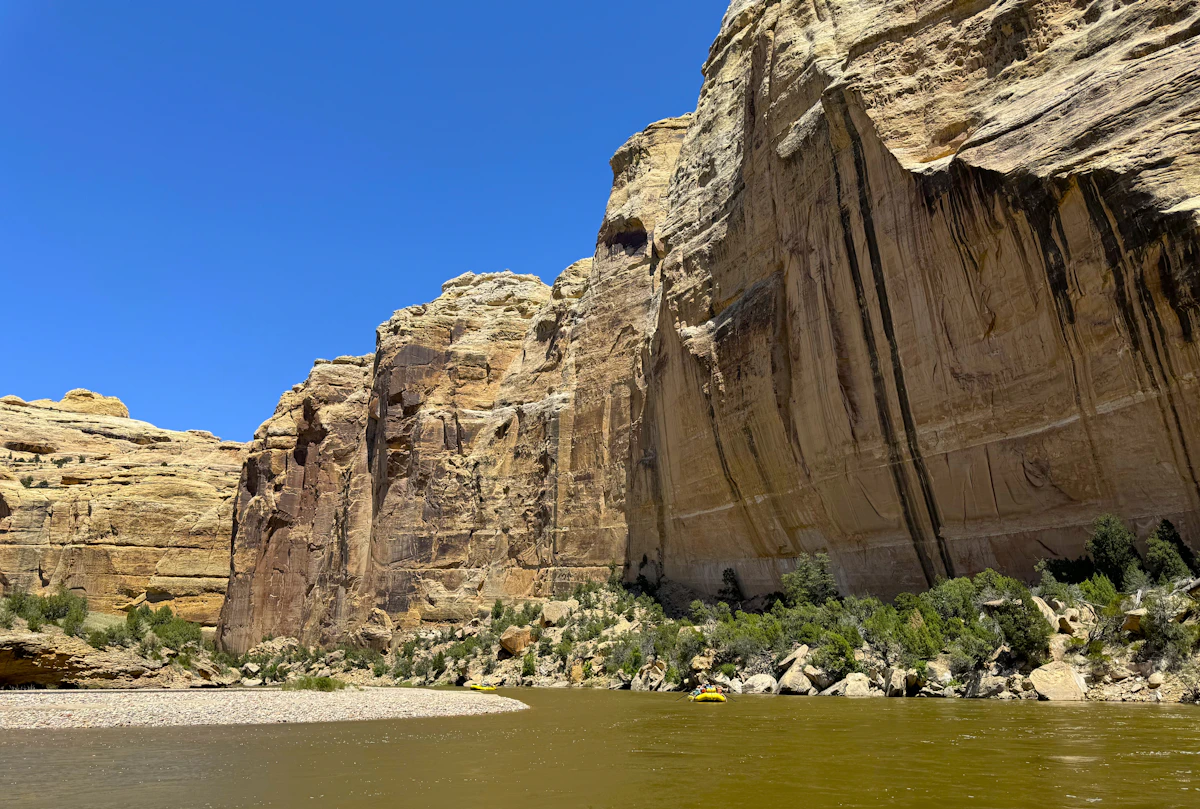
Colorado GMU 3 Elk Hunting: Breaking Down Big Sage Country and Finding Elk in Subtle Terrain
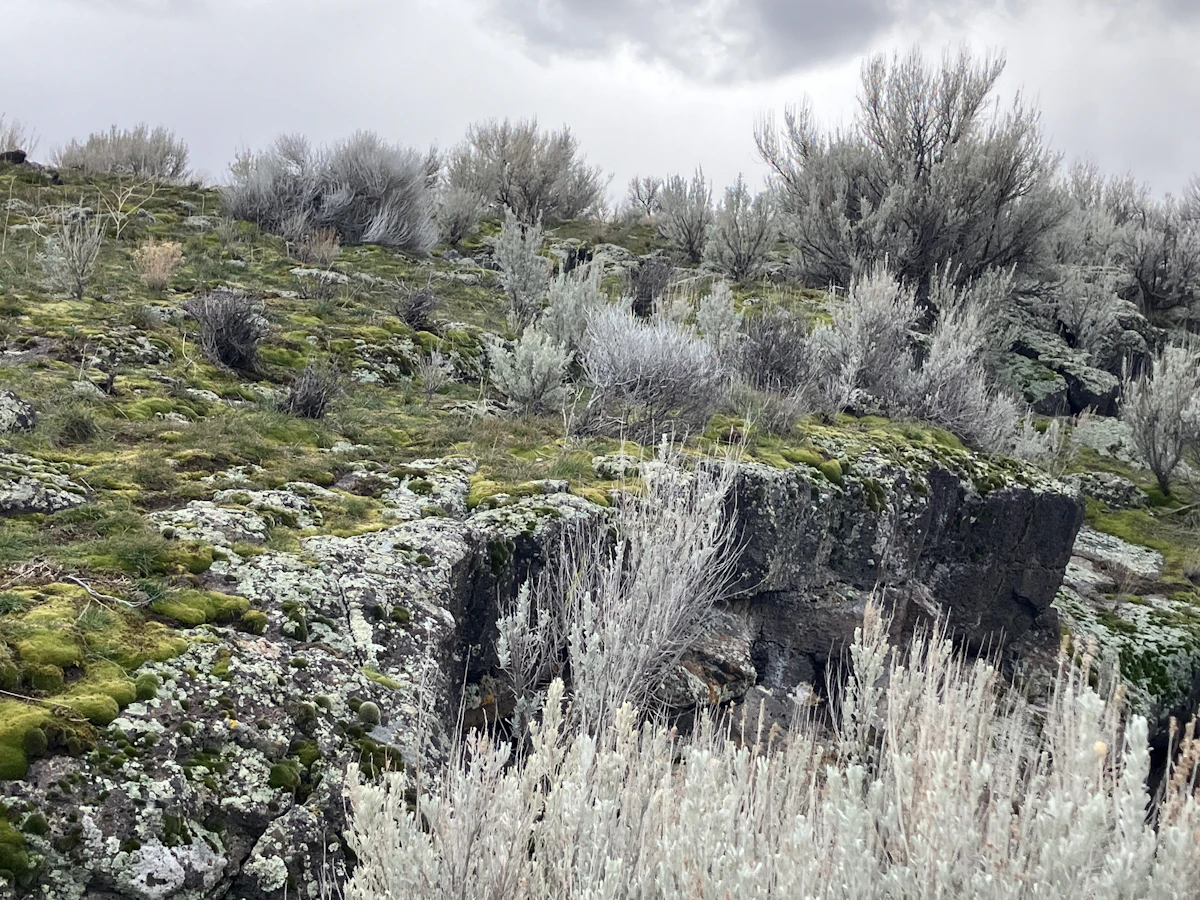
Unit 3 is one of those places that fools people the second they see it. It doesn't have towering peaks or a deep wilderness feel, it's lower, flatter, and dominated by sagebrush, and a lot of hunters write it off fast. That's a mistake. This is transition country, elk are here, they just use it differently, and if you understand how terrain and pressure work in a unit like this, you can find consistent opportunity, which is why it's worth studying Unit 3 on TAGZ before you go. Driving in feels different than most Colorado elk units, with lower elevation, wide sage basins, scattered ridges, and subtle terrain changes that don't stand out at first, so at a glance it feels simple, but the more time you spend here the more you realize how much is hidden in that simplicity.
Reading subtle country
Most hunters expect elk in big timber or steep terrain, and when they don't see that they assume the unit doesn't hold animals, missing how elk actually use this type of country through small elevation changes instead of big ones, drainages instead of deep canyons, and vegetation changes instead of terrain extremes; once you adjust how you look at the land, the unit starts to make sense, and our scouting guide helps you read terrain like this. Unit 3 is defined by structure hidden inside open country rather than by massive features. The Great Divide ridge runs through it as one of the most important visual references, helping you stay oriented and offering longer-range glassing, while higher points like Bald Mountain, Sugarloaf Peak, and Boston Hill give you elevation to scan effectively, modest peaks that still matter where even small elevation gains improve visibility. Drainages are where the unit really comes together, with Bald Mountain Draw, Alkali Draw, and Mud Spring Gulch acting as natural travel corridors that concentrate animals and create predictable movement, especially during dry periods, and Spring Creek with its branches serving as reliable water references in a unit where water is a major driver of animal location. Hardgrove Rim and Godiva Rim add vantage points, and none of these features are dramatic, but together they create a framework you can actually hunt instead of guessing across wide-open country.
Where elk live and the bulls you'll find
Unit 3 sits between roughly 5,700 and 7,400 feet, mostly in lower-to-mid elevation bands, which changes how elk use it compared to high-country hunts. The habitat is dominated by sagebrush, but it isn't uniform, mixing patches of ponderosa and juniper on ridges, timbered draws that offer bedding cover, creek bottoms with willows and thicker vegetation, and occasional rock outcrops that break up terrain, so from a distance it all looks flat while up close it's a mix of micro-terrain features elk use constantly. This is classic transition country where elk move through seasonally and vegetation patterns matter more than elevation gain. It's not a trophy unit like 1 or 2, but it offers solid opportunity, with 260 to 290 class bulls common, 290 to 310 class bulls realistic, and 310-plus bulls present but less common, and the real value here is consistency, since you're hunting elk rather than waiting years for a tag; our field judging guide helps you judge bulls in this range.
Hunting it day to day
Unit 3 rewards mobility more than top-end units, because subtle, spread-out terrain lets elk shift locations without moving far, so set a central camp, be ready to move, and cover multiple drainages and zones rather than locking into one basin. Early mornings are your best chance to locate elk, since movement happens quickly especially as pressure builds, so focus on the edges of drainages, transition zones between feeding and cover, and areas near water, because if you're not in position at first light you're already behind. Elk here don't rely on extreme terrain for security, they rely on subtle elevation changes, vegetation cover, and distance from pressure, often staying closer to access than you'd expect but positioned smarter, which is where most hunters miss them. By midday they pull into timbered draws, creek bottoms, and shaded slopes, so they're not gone, just harder to see, and slowing down to break apart terrain becomes critical, while evening movement is tighter than in high country, with elk moving short distances from cover to feed near security zones so positioning matters more than covering ground. Archery here can be hit or miss depending on pressure and conditions, with limited bugling compared to higher units, more spot-and-stalk opportunities, and a strong reliance on wind and positioning, so review our shot placement guide before taking a shot, while rifle season often gives better visibility as elk move more under pressure and open terrain helps you spot them through long glassing sessions, first and last light movement, and the edges of pressure zones.
The mindset that works
This unit tests patience in a different way, because you won't always see a lot of elk and the terrain doesn't hand you obvious answers, so the hunters who succeed stay disciplined, trust subtle terrain, and adjust instead of forcing it. Hunters go wrong by ignoring subtle terrain features, walking too much without a plan, only hunting obvious areas, and not focusing on water and vegetation, because Unit 3 punishes assumptions. What actually works is simple and consistent: glass early, focus on drainages, hunt water and cover, stay mobile, and adjust daily. Ultimately this is a unit that teaches you how to hunt elk outside of classic mountain terrain, building skills that carry across multiple states and conditions, and while it's not flashy, it produces. Units like this can feel confusing without structure, which is where TAGZ helps you break down terrain, track opportunity, and plan hunts without guessing. For related breakdowns, see the Unit 2, Unit 4, and Unit 13 guides.
Was this article helpful?
Previous
How to Scout a Western Hunt: Finding Elk Before the Season Starts
Scouting a western hunt is about understanding terrain, access, and pressure—not just finding animals. Learn the unit early, drive roads, and build a plan before season.
Next
Colorado GMU 2 Elk Hunting: Chasing Giants in One of the West’s Most Exclusive Units
Unit 2 is a top-tier elk unit with low pressure and high trophy potential. Understanding terrain, water, and movement patterns is key to success