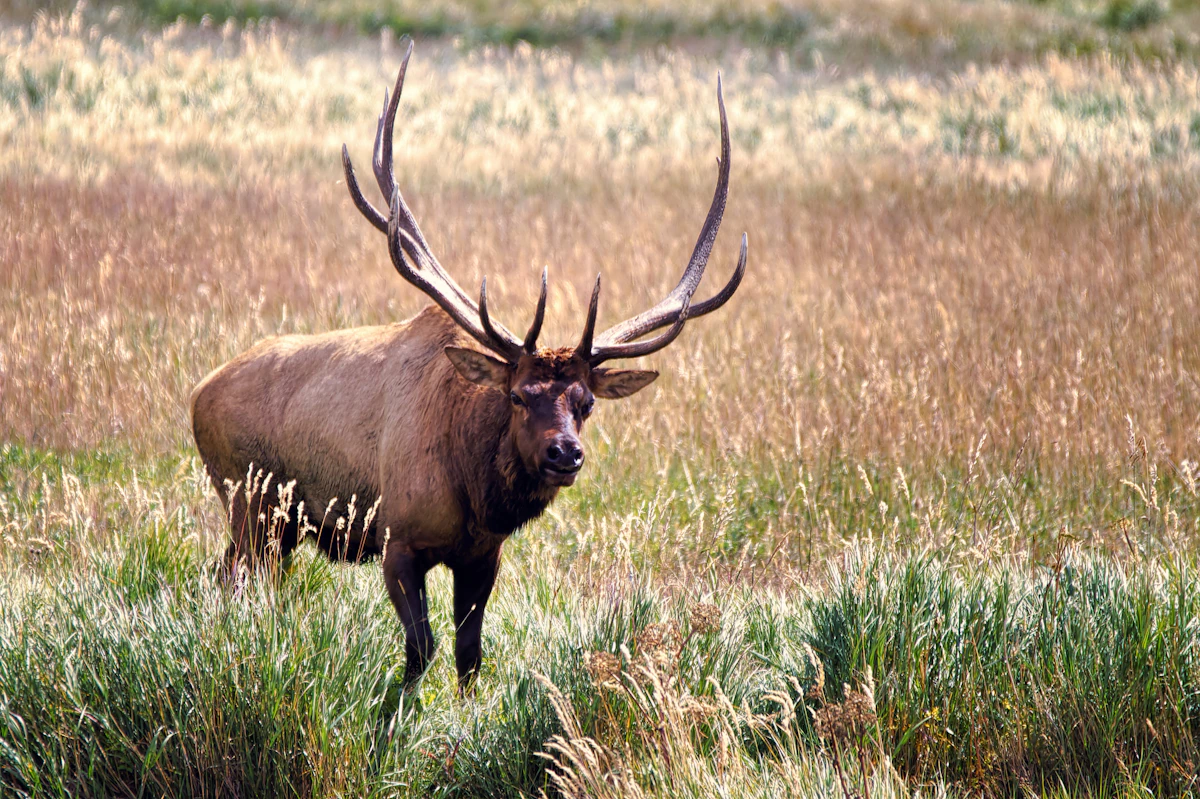
Spot and Stalk Whitetail Hunting: Master the Mobile Approach
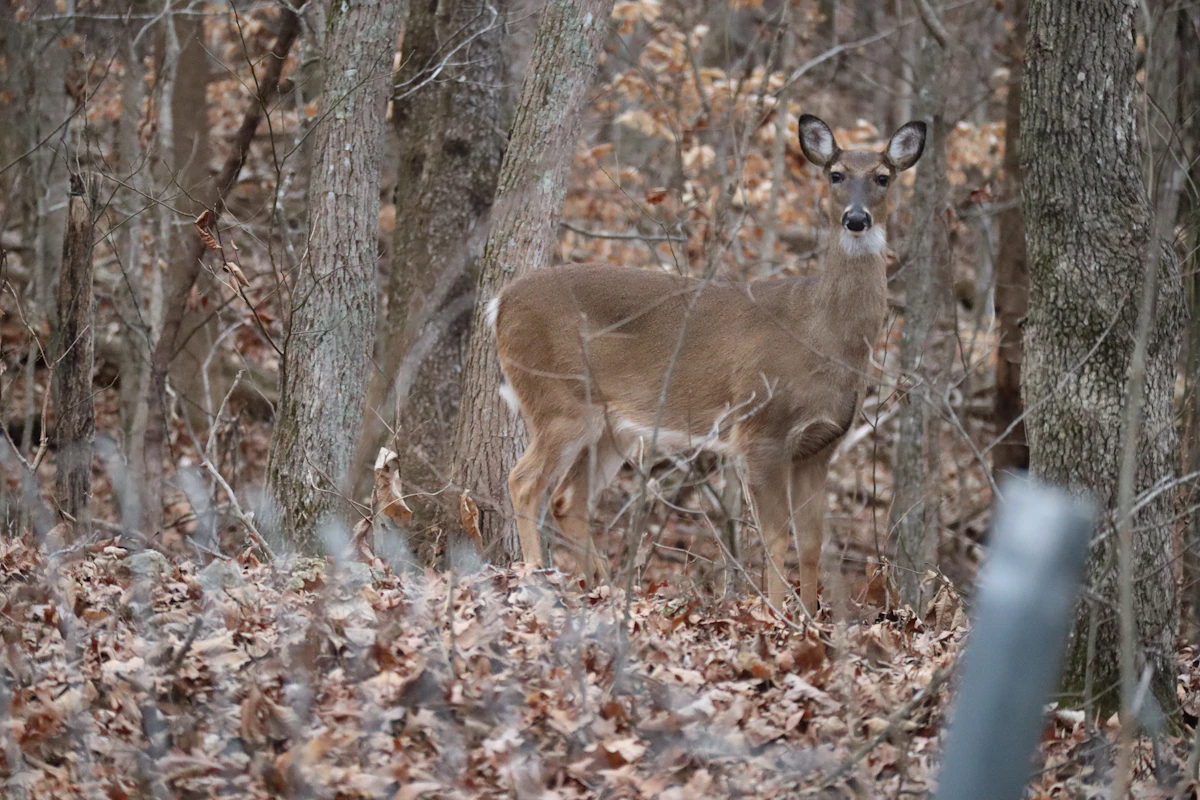
Spot and stalk whitetail hunting flips the script on how most hunters pursue whitetails. Instead of sitting in a treestand waiting for deer to come to you, you glass from a vantage point, identify a buck, and execute a stalk to rifle or bow range. The method demands patience, sharp optics, and the discipline to move only when conditions align. Done right, it delivers some of the most rewarding hunts you will experience.
This approach is not for everyone or every landscape. Dense Eastern timber rarely offers the visibility needed to spot and stalk effectively. But in the right terrain — open prairies, sagebrush flats, burned forests, or Western transition zones where whitetails overlap with mule deer — spot and stalk becomes the most effective tactic available.
Where Spot and Stalk Works Best
Terrain dictates whether spot and stalk is viable. You need visibility to glass deer from a distance and enough cover to close the gap without getting busted. Open country whitetail habitat in Montana, Wyoming, the Dakotas, and parts of Texas offers ideal conditions. Burned timber in the Northern Rockies creates temporary openings where deer feed in clearings while nearby cover provides stalking routes.
Edge habitat works well — places where agricultural fields meet broken timber or where sagebrush transitions into aspen groves. These zones allow you to glass feeding areas from a distance, then use terrain features like draws, ridges, or creek bottoms to approach undetected. Avoid flat, featureless ground where stalking offers no concealment and forces you to belly crawl the entire distance.
Weather plays a role too. Windy days provide sound cover and keep deer bedded in predictable locations. Light rain dampens noise but can fog optics. Avoid calm, cold mornings when sound carries and thermal currents are unpredictable. Snow helps with tracking but also highlights your movement.
Glassing Setup and Strategy
Effective spot and stalk starts with quality glass and a solid glassing position. Set up on high ground with a commanding view of bedding areas, feed zones, and travel corridors. Dawn and dusk provide the best glassing windows when deer are active and light is optimal for spotting antlers and body language.
Use 10x or 12x binoculars for initial scanning, then switch to a spotting scope to evaluate antlers and confirm the buck is worth a stalk. Grid your glassing area methodically — start close and work outward, then reverse. Look for horizontal lines, ear flicks, antler tips, and white throat patches. Bedded bucks often face downhill with only their head and rack visible above grass or brush.
Patience separates successful stalkers from those who blow opportunities. Spend hours behind the glass. Deer movement patterns reveal themselves over time. A buck that beds in the same draw three mornings in a row gives you a stalking opportunity on day four. Rushed glassing leads to missed deer and failed stalks.
Planning the Stalk
Once you locate a shooter buck, resist the urge to charge downhill. Study the terrain between you and the deer. Identify natural features that will conceal your approach — gullies, ridgelines, timber fingers, or tall grass. Mark the buck's exact location using a landmark like a distinctive tree, rock outcrop, or fence post. Deer blend into their surroundings the moment you drop your binoculars.
Wind direction dictates your route. Never stalk directly into the wind toward a bedded buck. Even if the deer cannot see you, thermal currents will carry your scent. Plan a route that keeps the wind in your face or crossing. In broken terrain, thermals shift throughout the day — rising in the morning, falling in the evening. Account for these shifts or wait until conditions stabilize.
Time your stalk based on deer behavior. Bedded bucks are easier to approach than feeding deer because their head stays down and their attention is limited. However, bedded deer face downhill and watch their backtrail. Approach from above or from the side, using terrain to stay out of their sightline until you reach shooting range.
Executing the Stalk
Move slowly and deliberately. Glass constantly as you close the distance. Bucks relocate, other deer appear, and terrain that looked navigable from a distance reveals obstacles up close. Stop every few steps to glass ahead and confirm the buck has not moved. Use trees, brush, and terrain rolls to break your outline.
Noise discipline matters more than speed. A single loud footfall on dry leaves or a branch snap will alert every deer within 200 yards. Step carefully, place your weight gradually, and pause if you make noise. Deer often tolerate a single sound but bolt at repeated disturbances. In dry conditions, stalk during midday when humidity softens leaf crunch, or wait for wind to mask sound.
When you reach shooting range, set up behind solid cover and range the buck with a laser rangefinder. Do not rush the shot. Control your breathing, confirm your sight picture, and squeeze the trigger when the buck offers a clean broadside or quartering-away angle. Bow hunters need to close to within 40 yards or less and wait for the buck to stand and offer a clear vitals shot.
Common Mistakes and How to Avoid Them
The biggest mistake spot and stalk hunters make is moving too fast. Impatience ruins more stalks than bad wind or poor shot placement. Slow down, glass more, and trust the process. A stalk that takes three hours and ends with a clean kill beats a rushed 30-minute approach that spooks the deer.
Another error is underestimating terrain complexity. What looks like a simple 400-yard stalk from your glassing position often involves navigating gullies, fence lines, and hidden obstacles. Add extra time to your stalk and expect detours. Bring a GPS or smartphone with offline maps to track your position and avoid veering off course.
Many hunters also ignore secondary deer. While focused on the target buck, they walk past does or younger bucks that blow the stalk. Glass continuously during your approach and adjust your route if other deer appear. Sometimes the best move is backing out and waiting for deer to relocate rather than forcing a bad situation.
Gear for Spot and Stalk Success
Quality optics make or breaks spot and stalk hunting. Invest in 10x42 or 12x50 binoculars with excellent low-light performance and a wide field of view. A spotting scope in the 60mm to 85mm range allows you to evaluate antlers from a mile away. Use a tripod for both binoculars and spotting scope to reduce eye fatigue during long glassing sessions.
Clothing should match the terrain. In sagebrush country, wear earth tones or sage patterns. In burned timber, charcoal and black blend better than green camo. Avoid blue, white, or bright colors that deer identify as unnatural. Merino wool layers regulate temperature and stay quiet during movement.
Footwear matters more during stalks than treestand hunts. Choose boots with soft, flexible soles that provide ground feel and reduce noise. Leather or synthetic hiking boots work better than stiff rubber boots that clunk on rocks. Gaiters keep debris out and reduce leg noise when brushing against vegetation.
A rangefinder is essential for ethical shot placement. Misjudging distance by 50 yards in open country means the difference between a clean kill and a wounded animal. Range multiple landmarks around the buck before you shoot so you have a confirmed distance when the moment arrives.
Bow Hunting Considerations
Spot and stalk with a bow requires closing to within 40 yards or less. This demands exceptional stalking discipline and often means crawling the final 100 yards. Wear knee pads and elbow pads for comfort during low crawls. Use a bow-mounted rangefinder or handheld model to confirm distance before drawing.
Wait for the buck to stand before drawing. Drawing on a bedded deer telegraphs movement and increases the chance of getting busted. Once the buck stands, draw only when his head is behind a tree or looking away. Hold at full draw only as long as necessary — muscle fatigue ruins shot execution.
Broadside and quartering-away shots offer the best penetration angles. Avoid frontal shots or steep quartering-toward angles where bones obstruct the vitals. After the shot, wait 30 minutes before tracking unless the deer goes down in sight. Whitetails often bed down after a good hit if not pressured immediately.
Adapting to Changing Conditions
Whitetail behavior shifts throughout the season. Early season deer follow predictable feeding patterns tied to agricultural crops and natural browse. Focus your glassing on alfalfa fields, bean fields, and oak ridges during mornings and evenings. Mid-season deer become more nocturnal and harder to pattern. Glass bedding areas during midday when bucks are locked down.
The rut transforms spot and stalk opportunities. Bucks abandon caution and cruise open country searching for does. Set up on high ground overlooking doe bedding areas and watch for bucks working through. Rutting bucks also respond to calling, allowing you to stop a moving deer for a shot or manipulate his approach route during a stalk.
Late season after the rut pushes deer back into feeding patterns focused on high-calorie food sources. Glass around standing corn, winter wheat, and hay fields. Cold weather concentrates deer in thermal cover like south-facing slopes and cedar thickets. These areas offer shorter stalking distances but demand extra stealth.
When to Switch Tactics
Spot and stalk works until it does not. If terrain is too dense, wind is wrong, or deer are spooked from previous pressure, switch to stand hunting or still-hunting. Recognize when conditions do not favor stalking and adapt rather than forcing a failed approach.
Some days are better spent scouting than hunting. Use binoculars to pattern deer movement and identify bedding areas for future hunts. This intel pays off later when conditions align. Successful spot and stalk hunters balance patience with persistence, knowing when to push and when to back off.
How TAGZ Supports Your Hunt Planning
Whether you are applying for limited-entry tags or planning an over-the-counter hunt, TAGZ helps you research units with terrain suited to spot and stalk. Filter units by elevation, vegetation, and public land access to identify areas where glassing and stalking are viable. Compare draw odds across states and track your preference points so you never miss an application deadline. TAGZ provides terrain maps, unit boundaries, and historical harvest data so you can make informed decisions before you ever step into the field.
FAQ — Spot and Stalk Whitetail Hunting
What states offer the best spot and stalk whitetail hunting? Montana, Wyoming, North Dakota, South Dakota, and western Kansas provide open terrain where spot and stalk is effective. Burned timber in Idaho and Montana also creates ideal conditions.
How close do you need to get for a rifle shot? Most ethical rifle shots on spot and stalk whitetails happen between 150 and 400 yards. Practice shooting from field positions at these distances before your hunt.
Can you spot and stalk in heavy timber? No. Dense timber eliminates visibility needed to glass and limits stalking routes. Spot and stalk requires open or semi-open terrain with enough cover to conceal your approach.
Is spot and stalk harder than treestand hunting? Yes. Spot and stalk demands more physical effort, sharper skills, and better field craft. However, it offers more control over the hunt and works in terrain where treestands are ineffective.
What wind speed is best for stalking? 10 to 15 mph provides sound cover without making glassing difficult. Avoid dead calm conditions where sound carries and thermals are unpredictable.
Do you need a spotter for spot and stalk? No, but a partner helps. One person glasses while the other plans the stalk, and communication via radio keeps both hunters coordinated during the approach.
Continue Planning Your Hunt
Spot and stalk whitetail hunting rewards hunters who invest time in glassing, wind management, and terrain reading. For help researching units, tracking draw odds, and planning multi-state applications, visit the TAGZ home page. Explore more western hunting strategies and unit breakdowns on the TAGZ Insights blog. Compare subscription options and unlock full access to draw data, unit maps, and hunt planning tools on the TAGZ pricing page. Ready to dive deeper into how TAGZ simplifies western hunt planning? Check out the TAGZ product page to see how terrain maps, point tracking, and deadline alerts help you make smarter decisions every application season.
Was this article helpful?
Previous
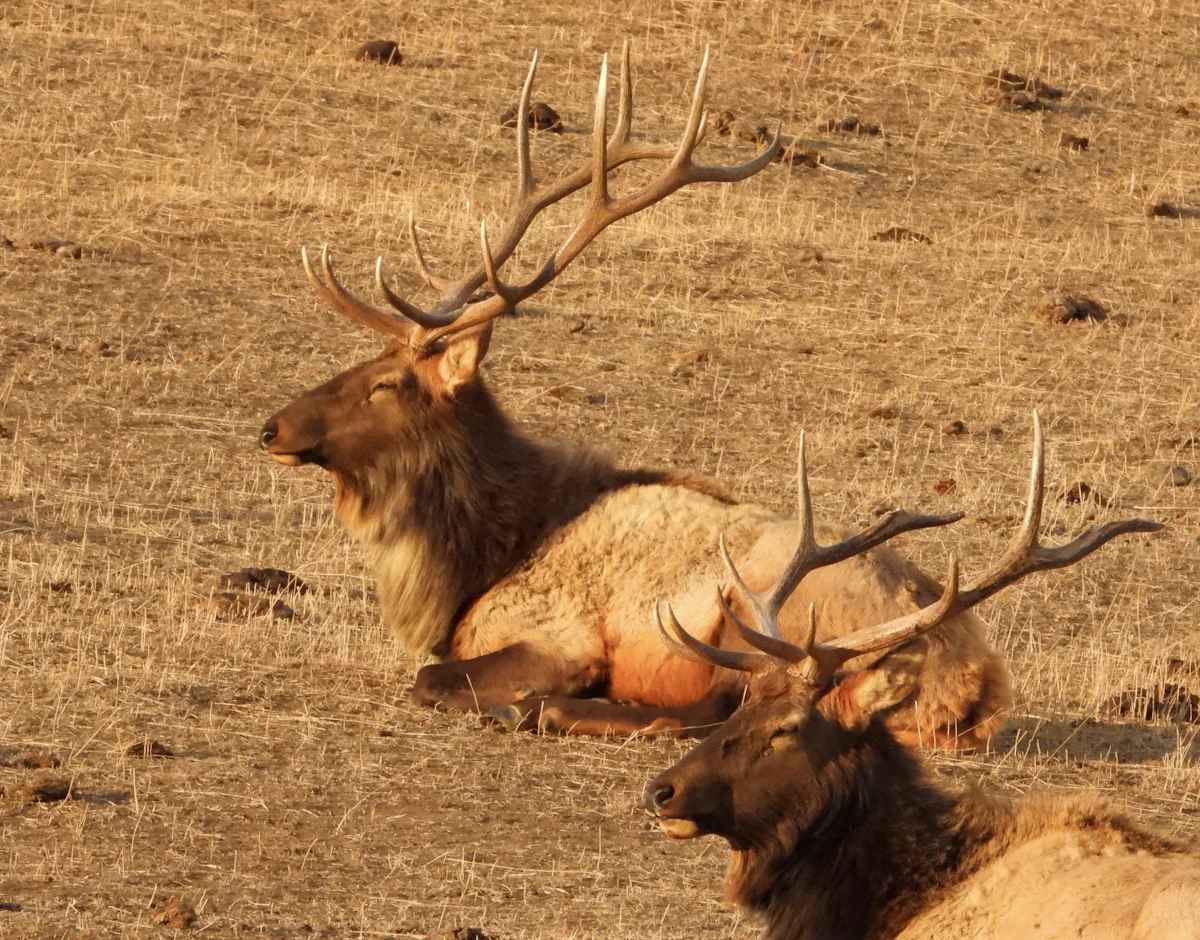
Afternoon Elk Bedding Patterns: Where Bulls and Cows Rest During Midday
Elk retreat to predictable bedding areas during afternoon hours to ruminate and escape midday heat. Understanding these patterns helps hunters position for evening movements and increases success during midday stalks.
Next
Best Draw Weight for Elk Hunting: What You Really Need
Choosing the right draw weight for elk hunting balances arrow energy, accuracy, and shooter comfort. Most adult hunters succeed with 60-70 pounds, but your ideal weight depends on draw length, shooting form, and practice commitment.